What's in this post...
![]()
Last Updated on December 9, 2020 by Graham Walsh
So you want to use the MTR Whiteboard app with a front of room touch screen? With the recent accountment of the new features in Microsoft Teams for using Whiteboard app, it has been extended to the Microsoft Teams Room (MTR) devices too. See below how this can be done.
Step One – Enable Whiteboard Preview in your Tenant
You need to log into your O365 Admin Center at https://portal.office.com and browse to Admin icon and then expand all services
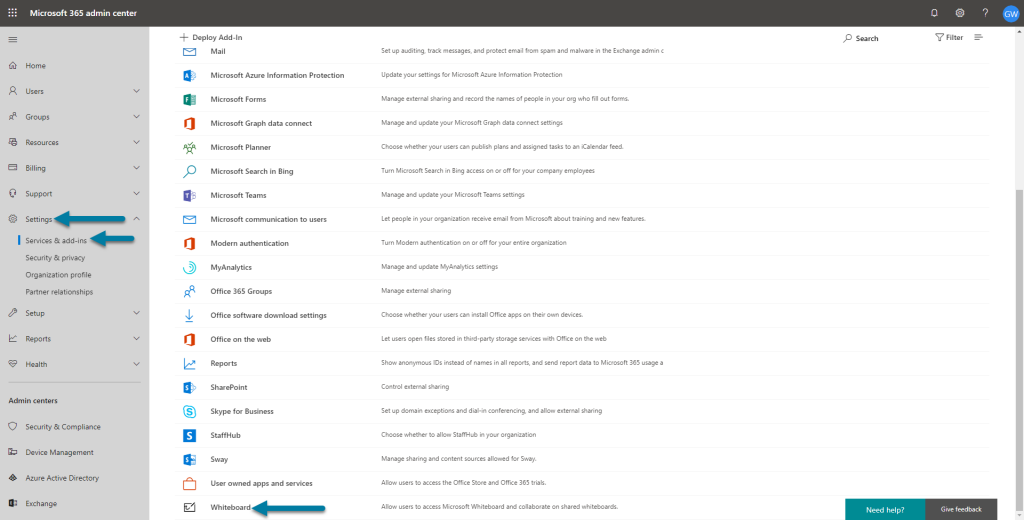
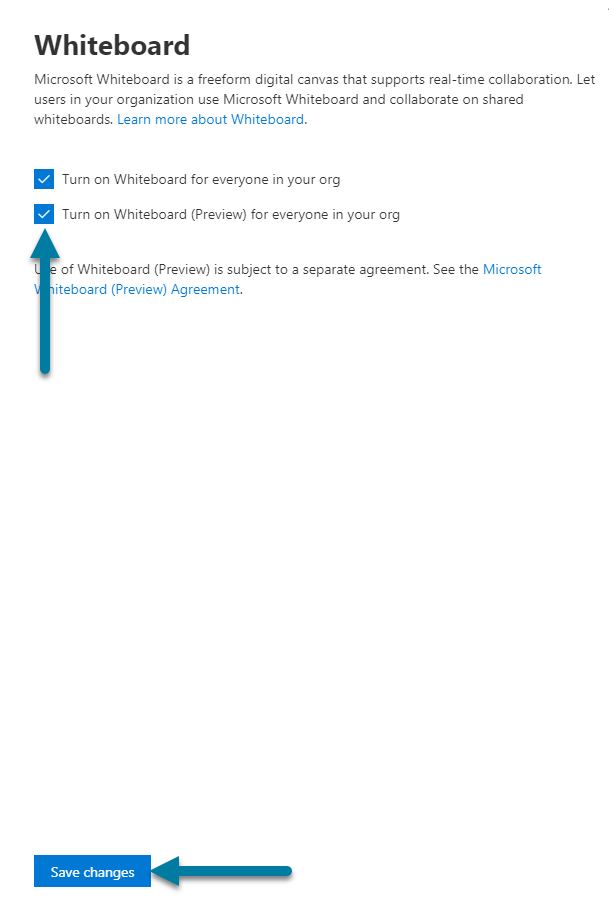
Now click on Whiteboard App and tick the Preview box and click on Save.
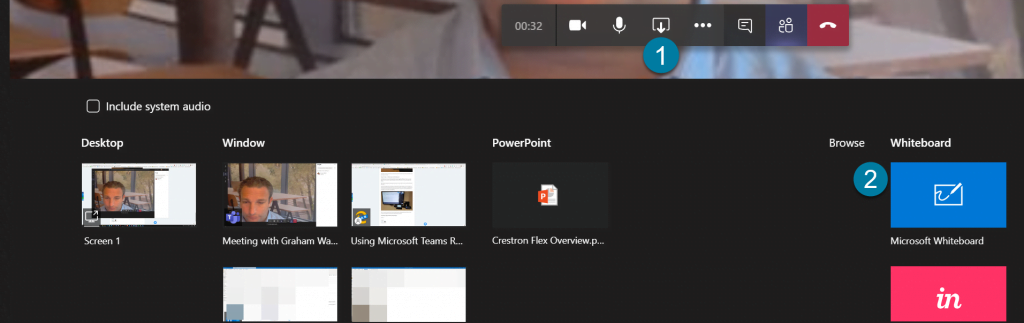
Once that change is made, it will be shortly available to users. When you are in a meeting, when you share content, one the right-hand side you will see Microsoft Whiteboard. This will then start a whiteboard session. This will work between users in a meeting and you can use your mouse, pen or touch display on a Surface device, etc.
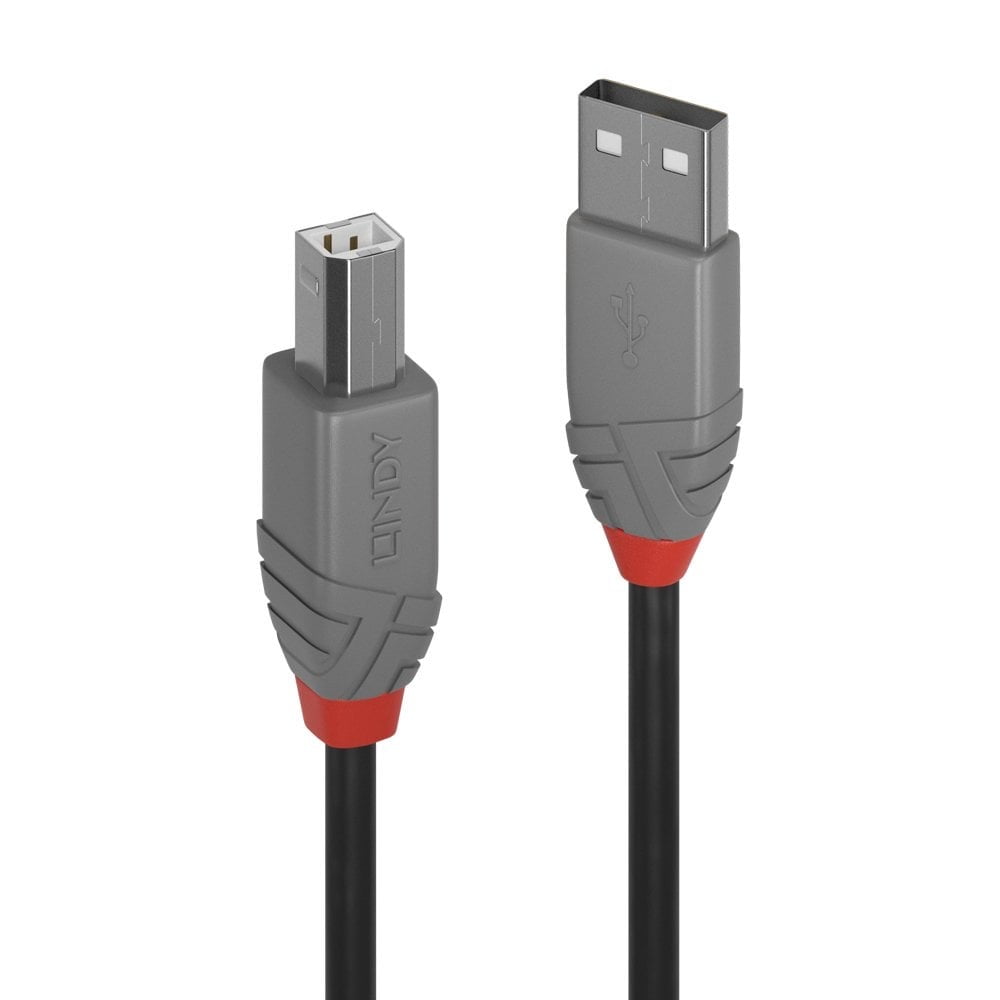
So how does the Microsoft Teams Room play a part? Well if you have a Front of Room (FoR) touchscreen, there are many manufacturers out there, then you connect this to the MTR PC. One thing to remember when selecting a MTR vendor, does it have enough USB ports, otherwise you’ll end up having to deploy USB hubs too, which cannot be centrally managed.
Step Two – Connectivity and Calibration
So simply connect it up and in the MTR, enter the Windows settings. You will see the device being setup by Windows.
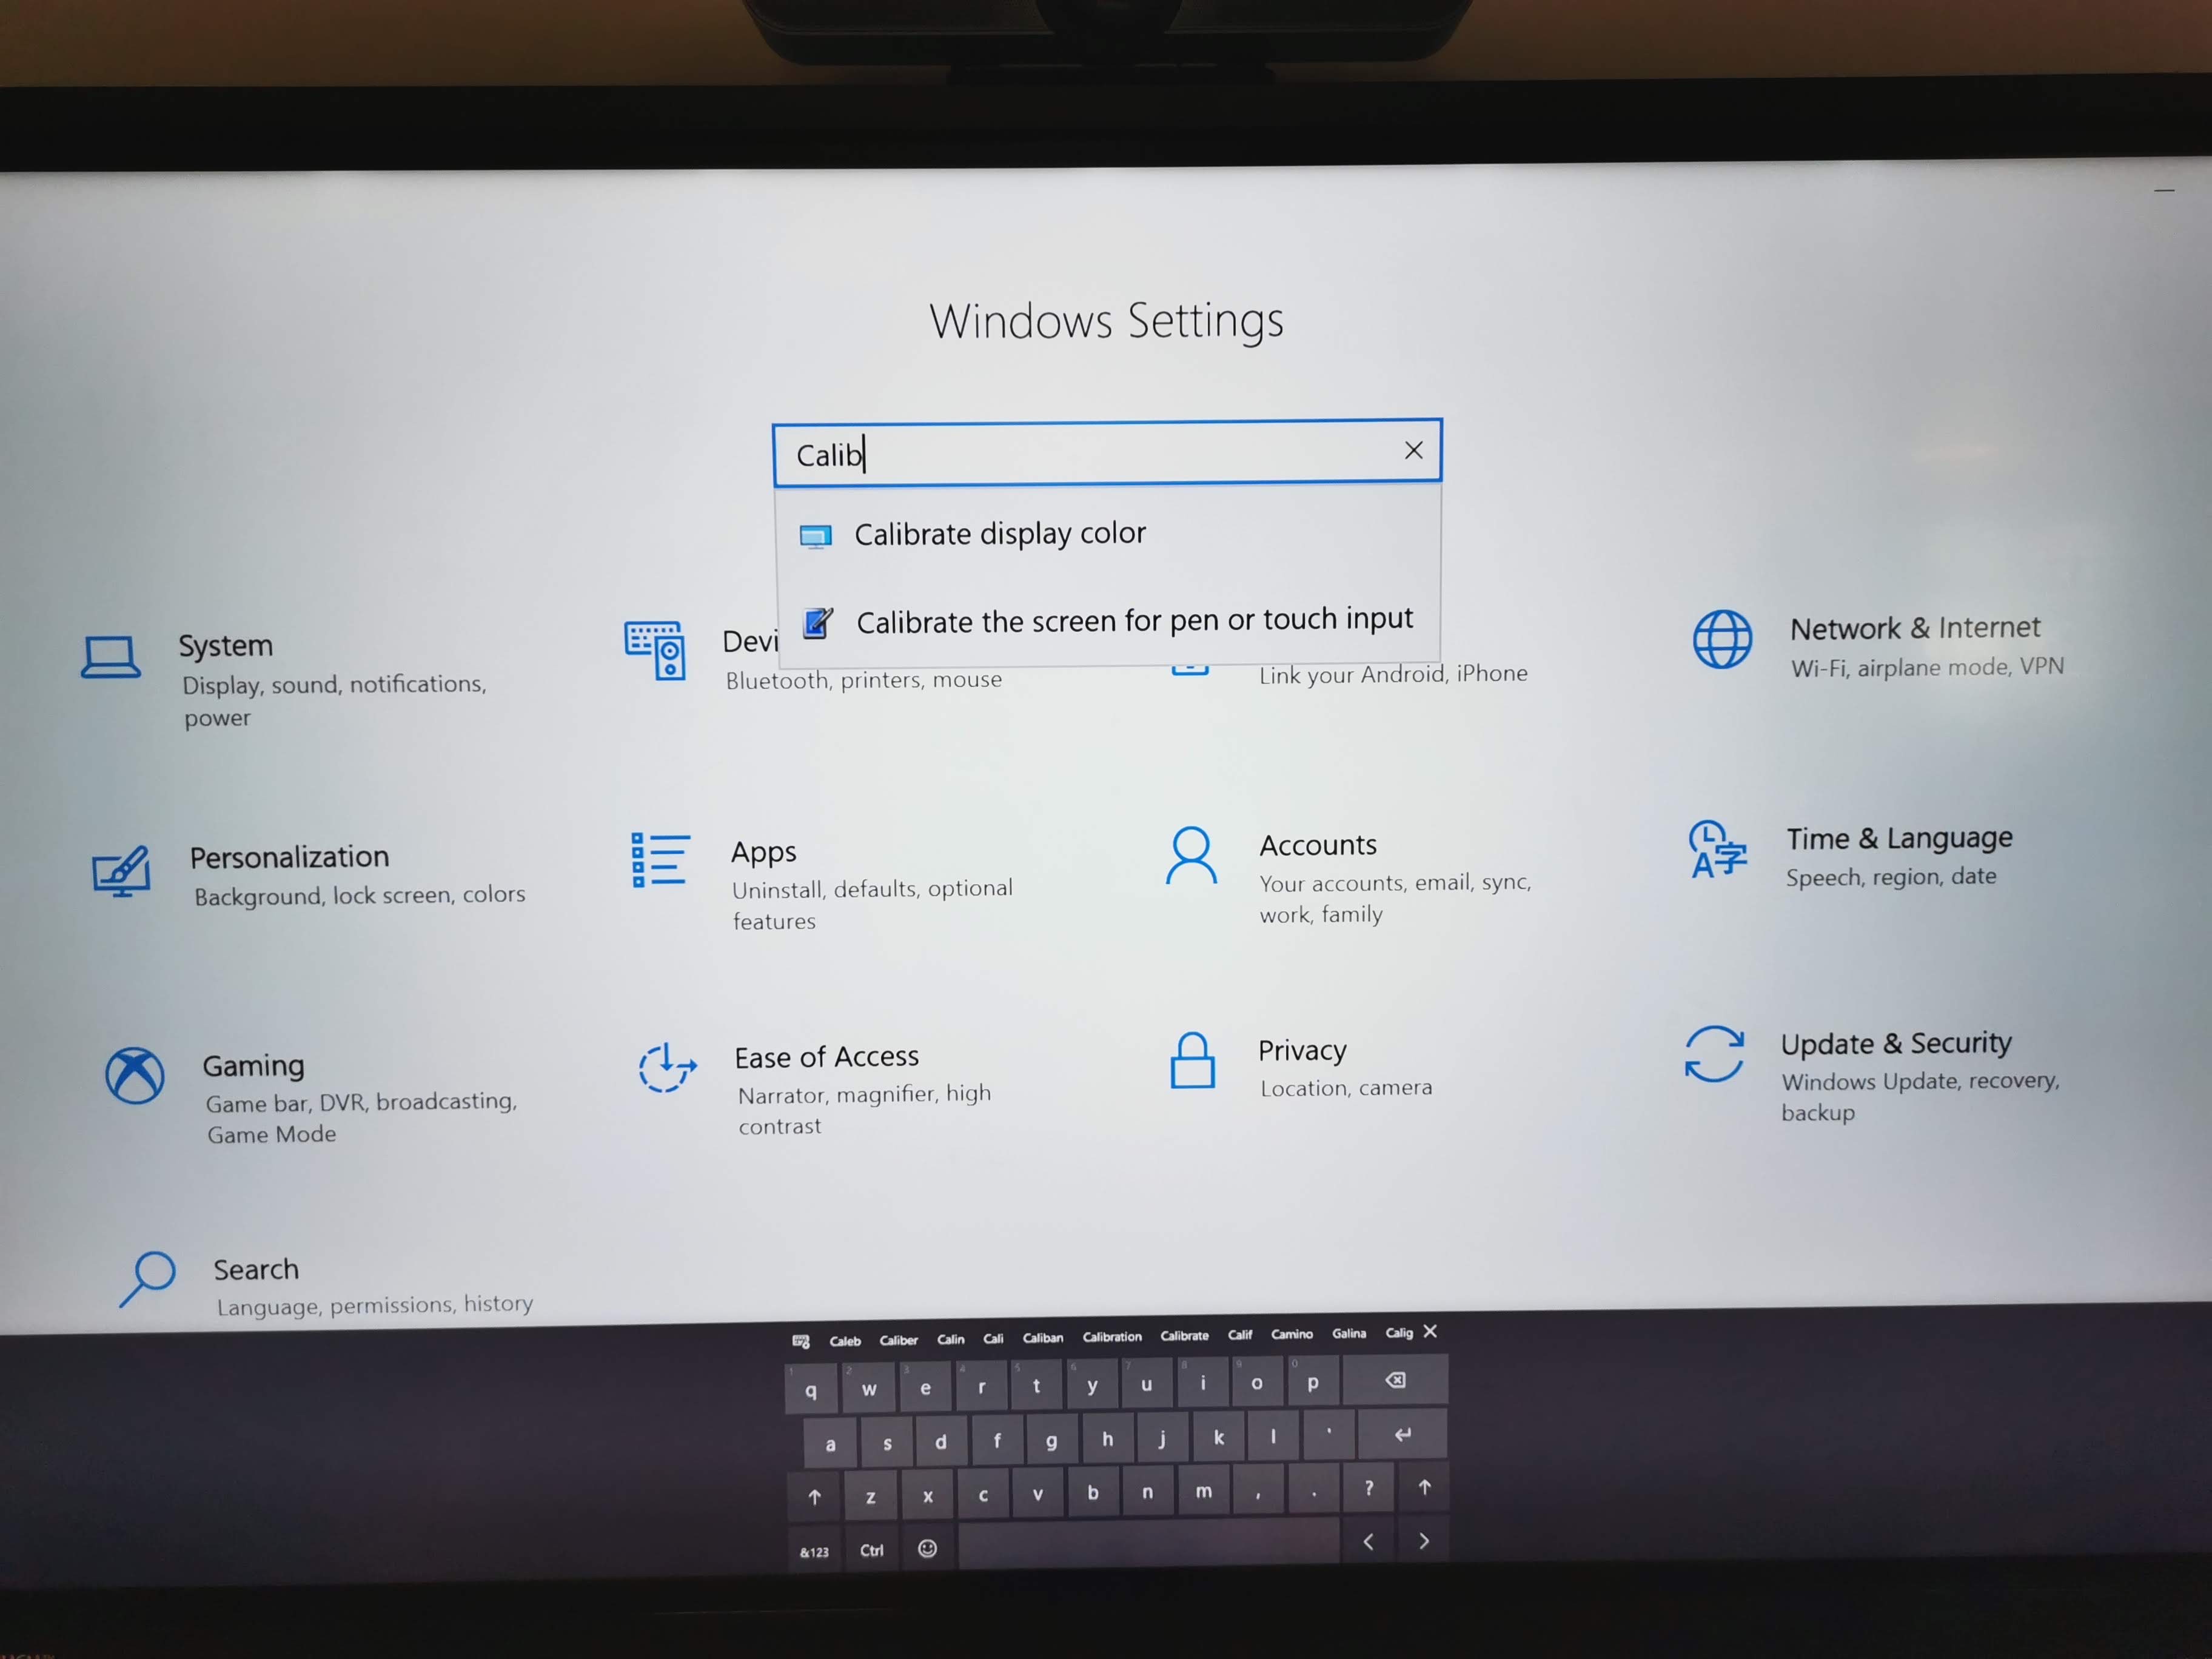
Once Windows setup is done, we now need to go into the Control Panel and configure the touch. Search for Calibrate the screen for pen or touch input
Now select Setup to start the Calibration.
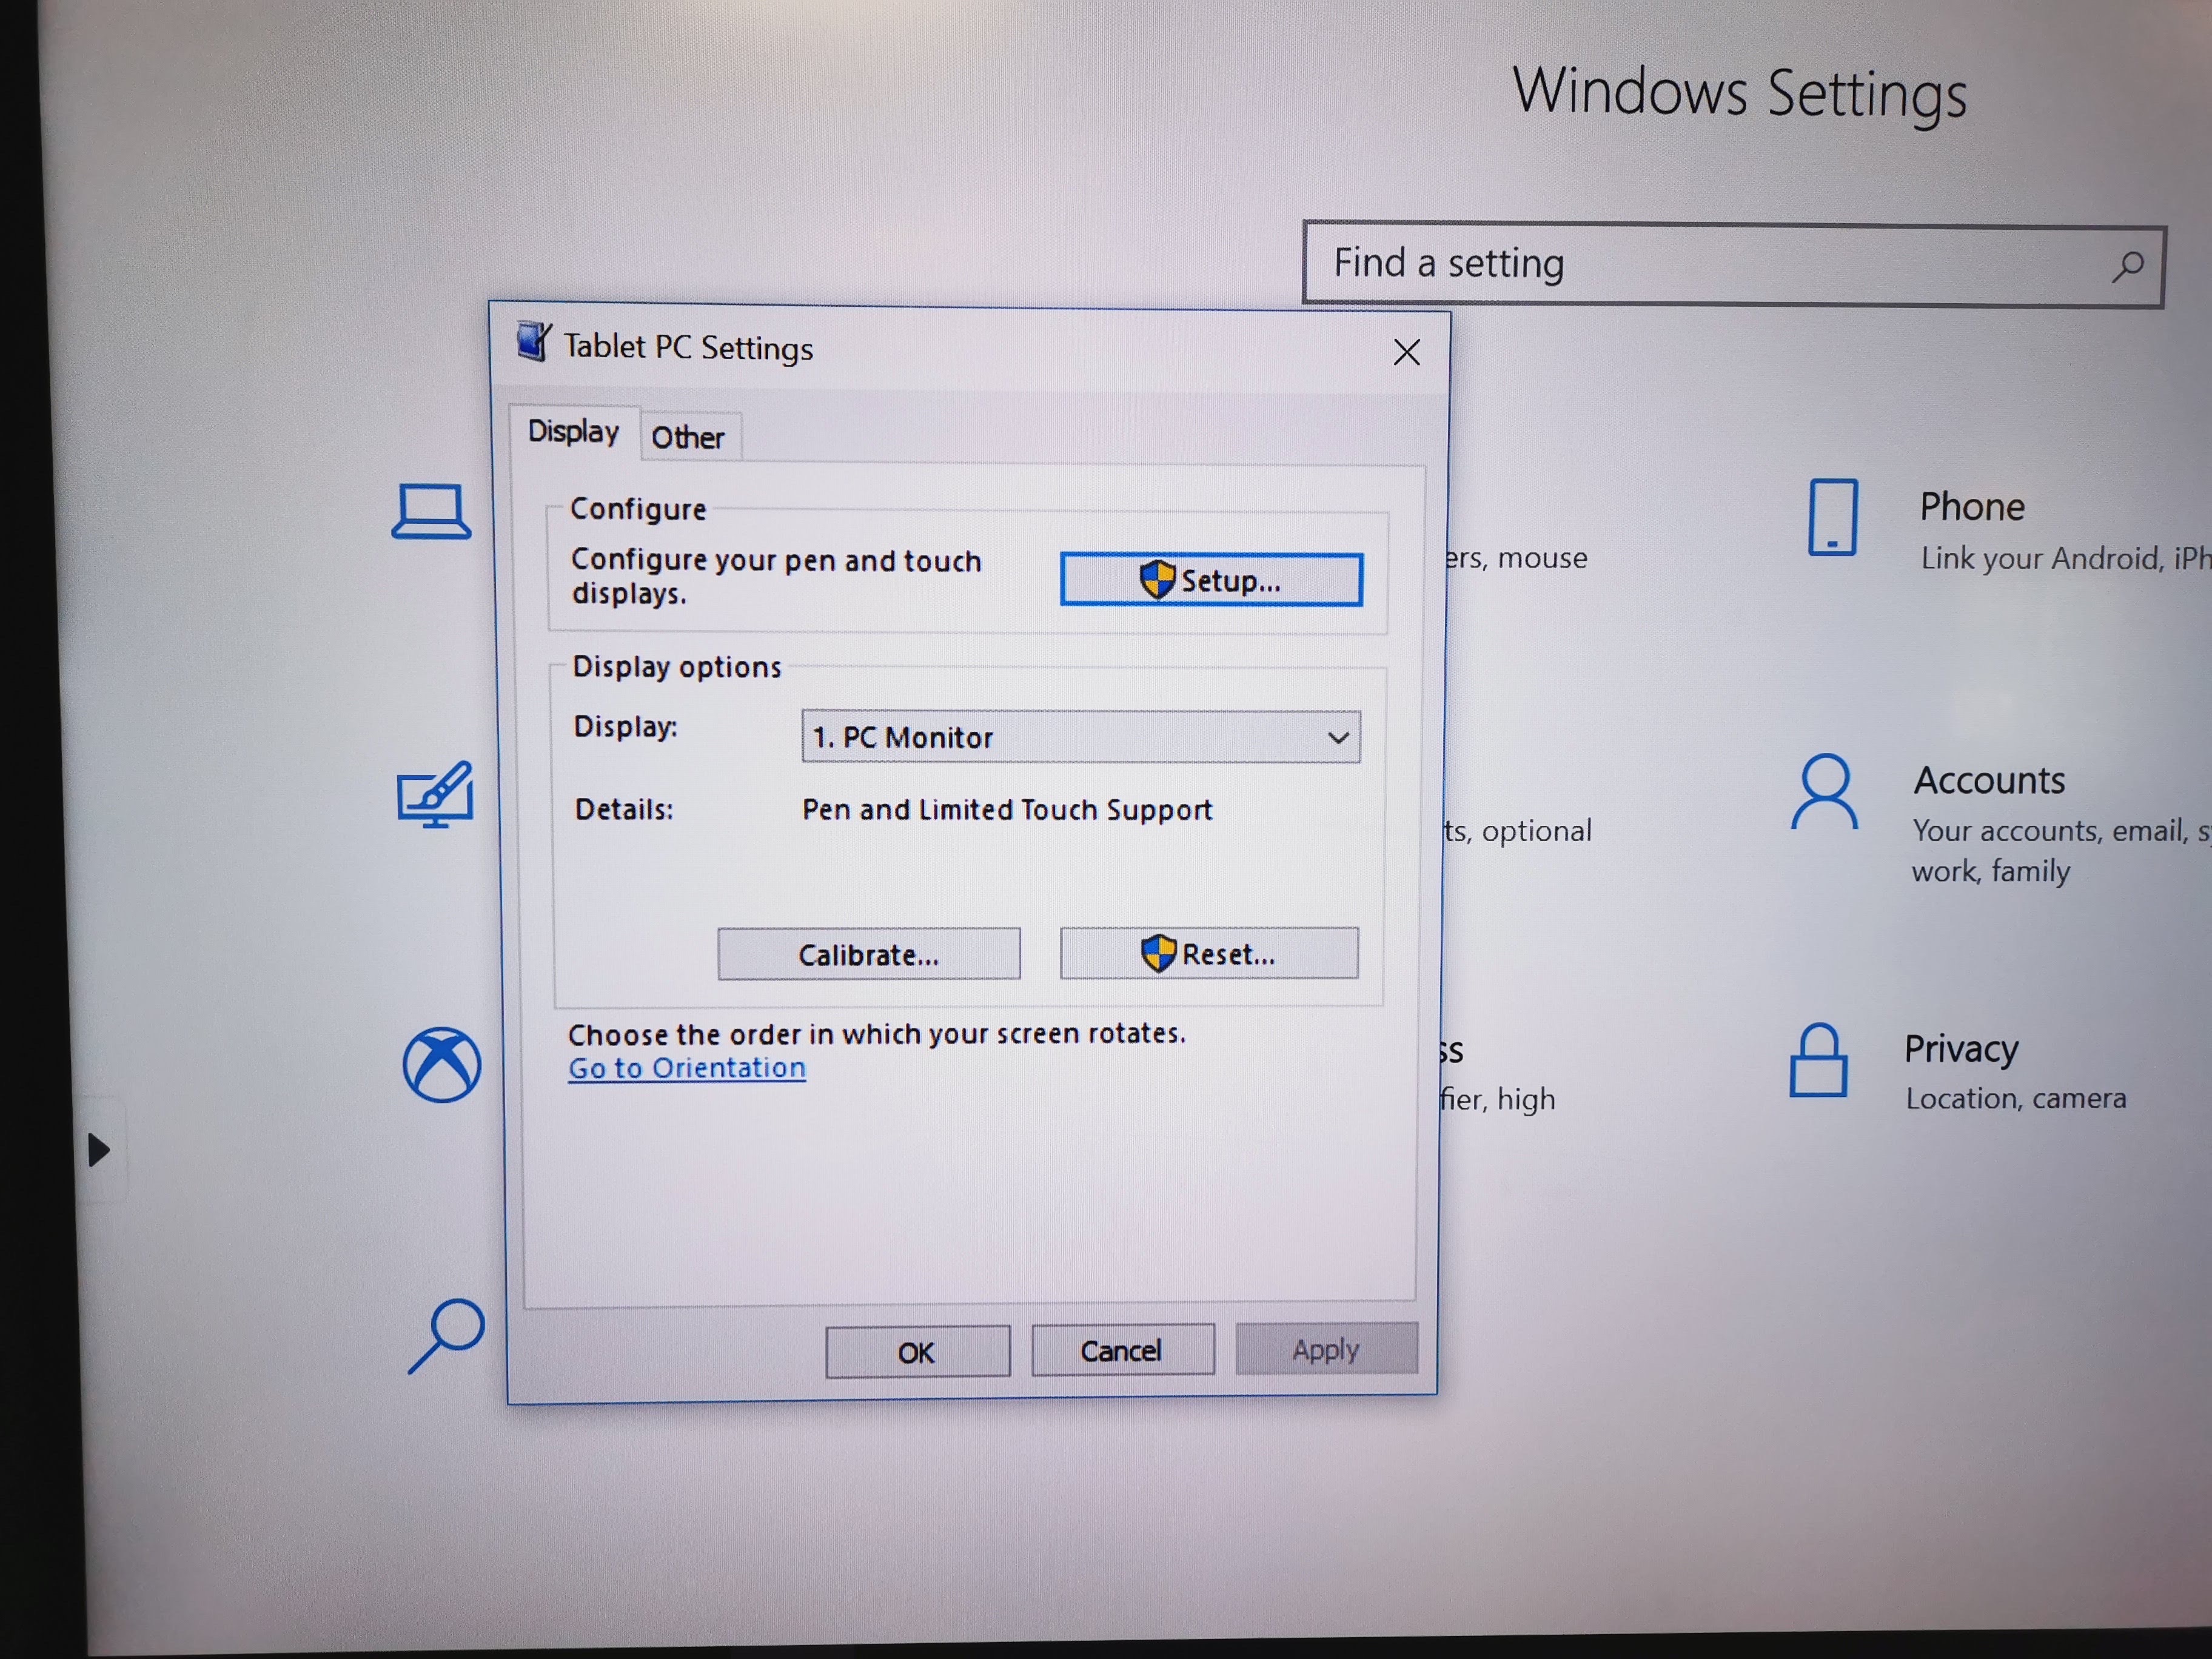
You may see this option below depending on your screen.
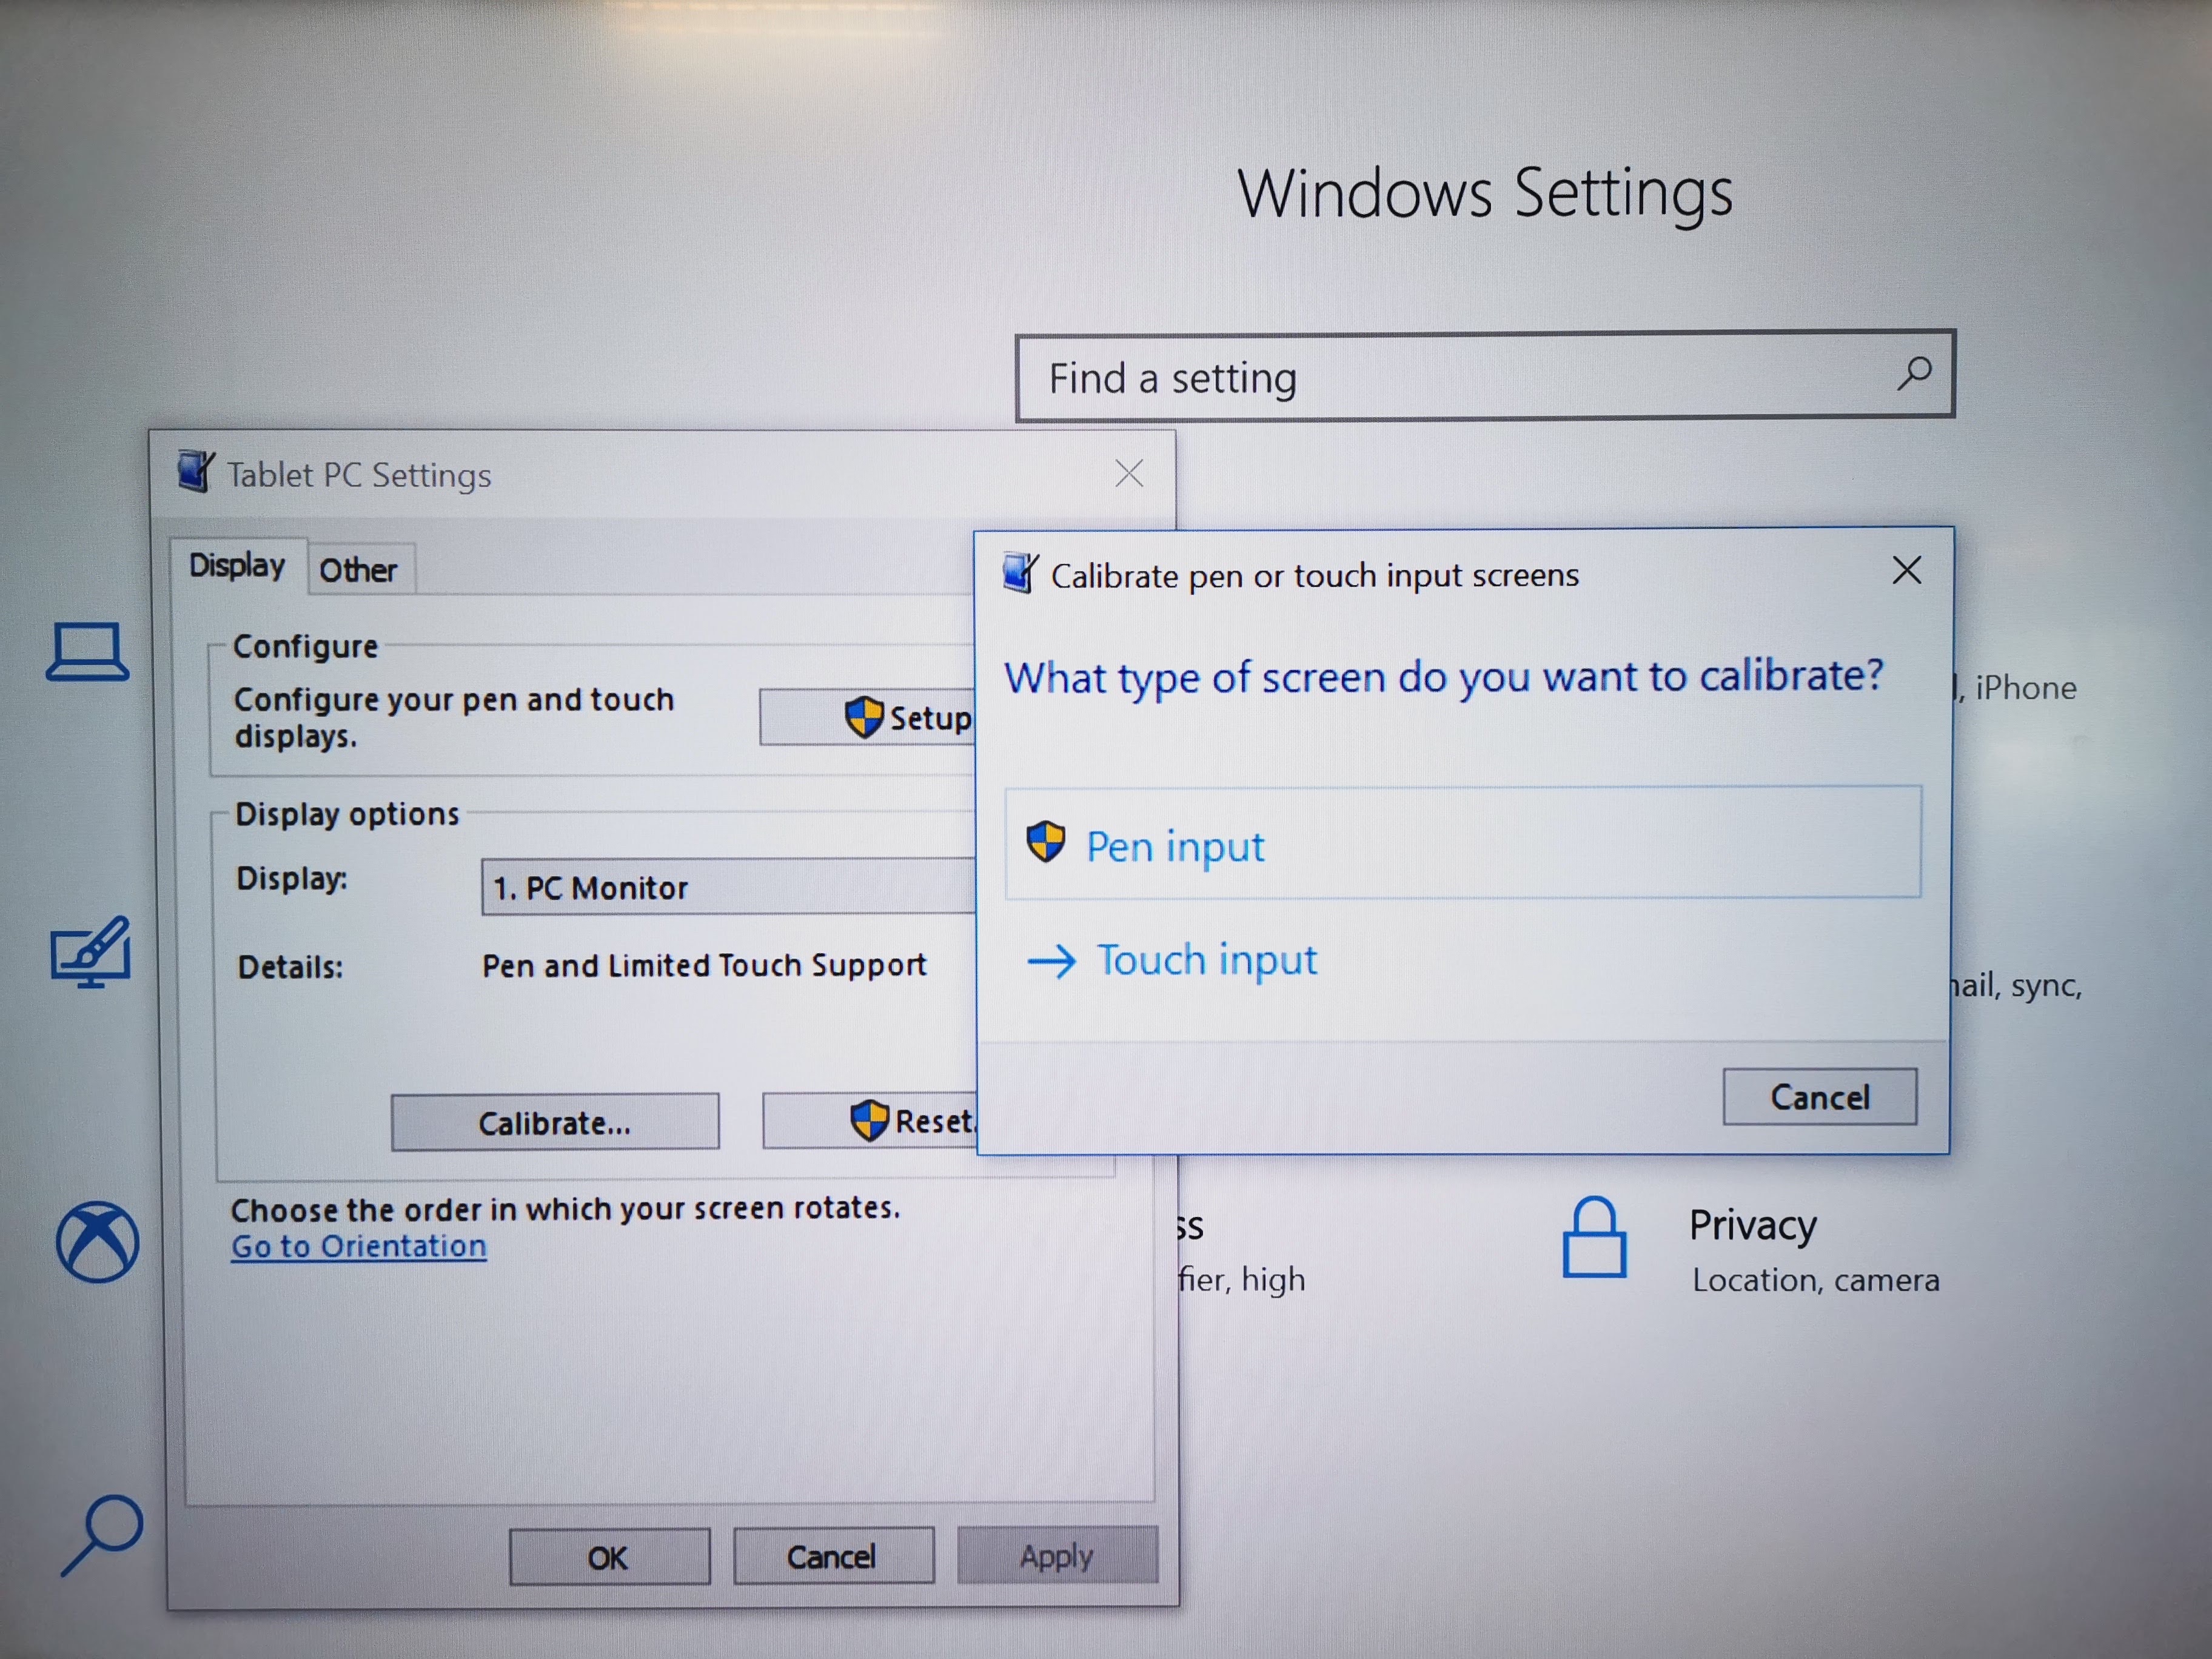
Next up you will be asked what screen you want to set as the touch screen. You will need a keyboard connected to the MTR so you can skip screens, remember you do not want to calibrate the Centre of Room console as a touchscreen, only a Front of Room display. Also note, it is wise to connect only one touch display as content is always on one of the screens during a meeting. However, you can swap screens during a call, so just be aware of that.
Now you can select what type of input you are going to use for the screen, so select either Pen or Touch.

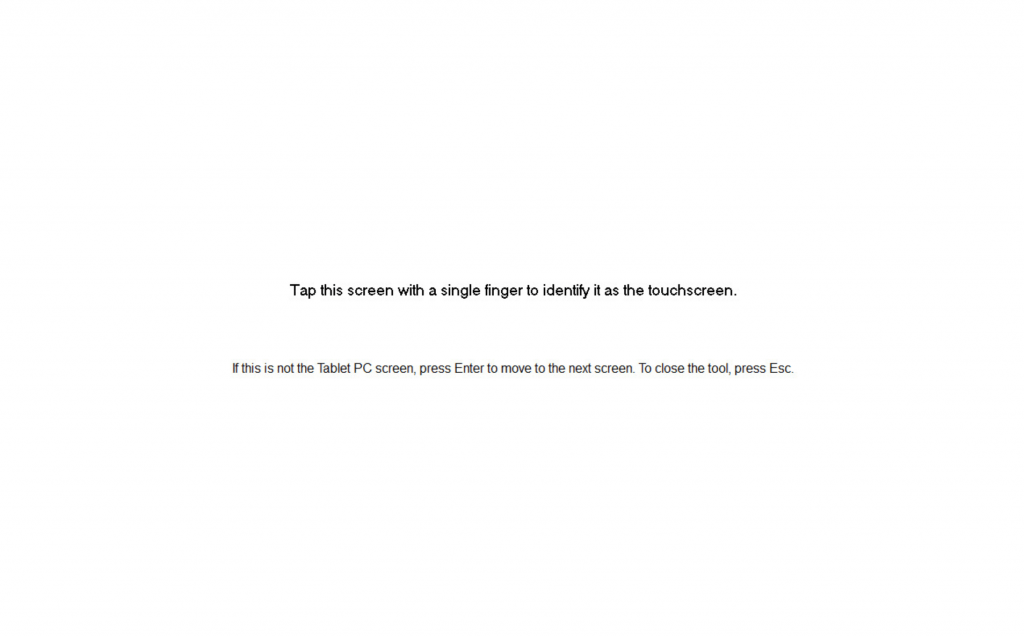
Once you’ve selected your input, you’ll have a game like whack-a-mole, chasing the crosshairs around the screen to get the calibration right.
Once that is done you can close the Control Panel and exit the Windows Admin side and head back to the Skype login for the MTR.
Step Three – Initiating the Whiteboard
As of today, there is no way of starting a Whiteboard session from the MTR device. What you can do is start the Content Camera for Magic Whiteboard, but that is different to this. It may come along in the future,
Start a Teams Meeting from the desktop client (as you can’t start a Meet Now from the mobile Android of iPad client.
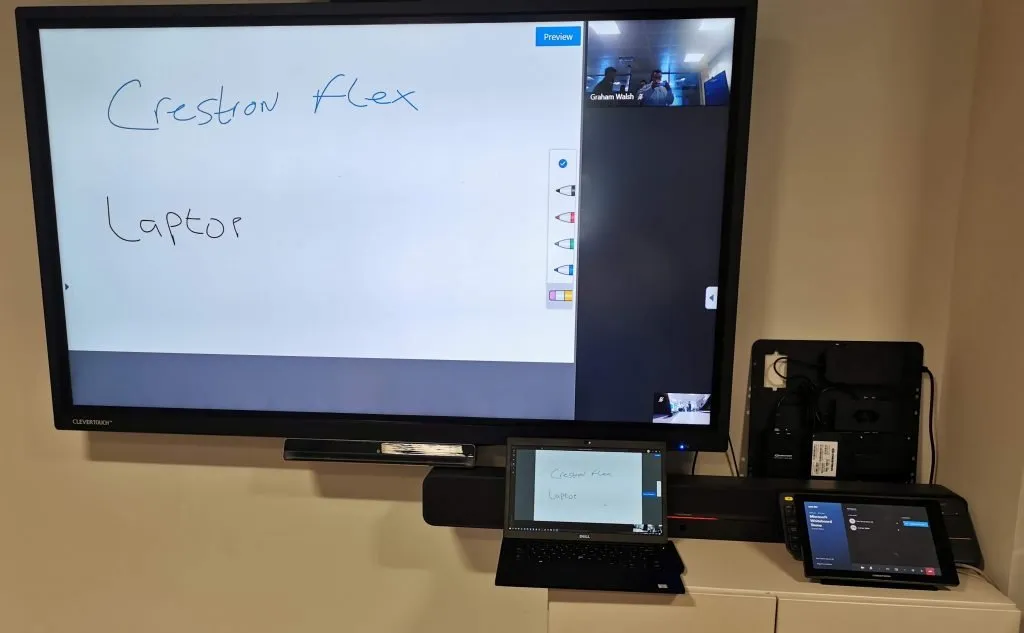
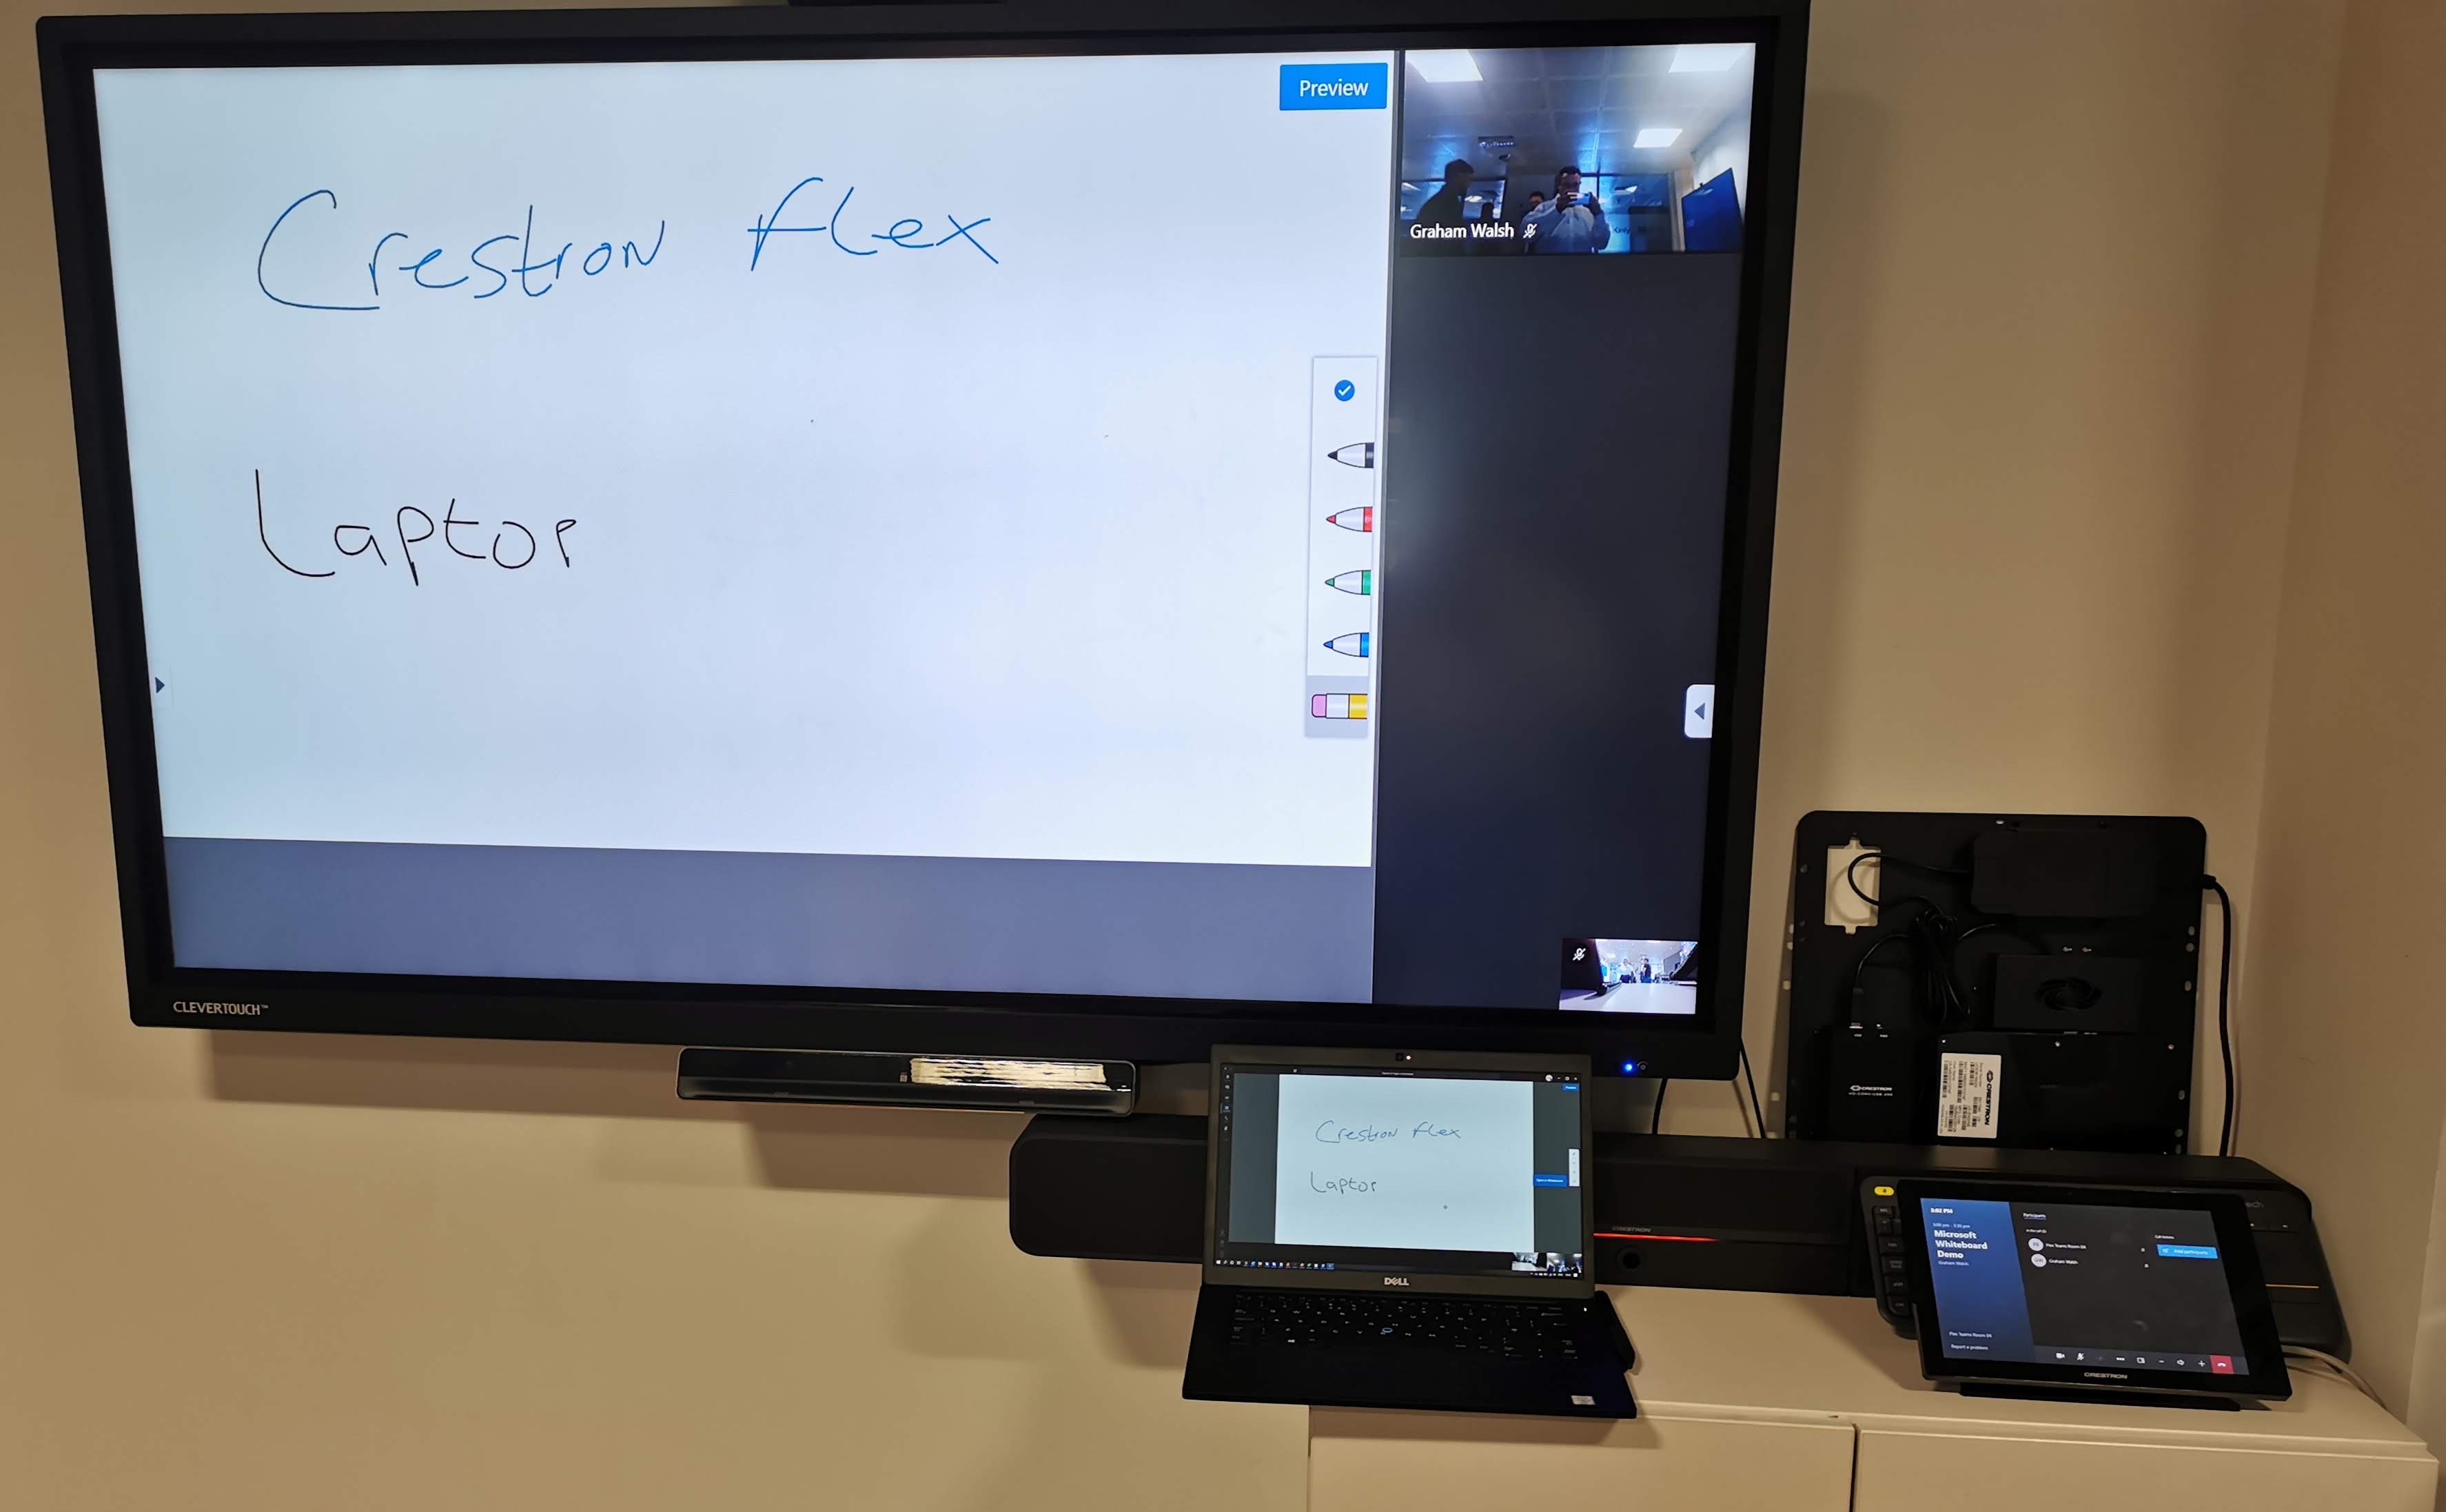
Once the meeting is started, hit the Share icon and select Microsoft Whiteboard. This will then sign into Whiteboard and start sharing a blank canvas. As you can see below, I wrote Laptop on my laptop with my mouse and I wrote Crestron Flex on the FoR display, which then appeared in my Microsoft Whiteboard on my laptop, so you have two-way annotations.
That’s it, you now have a MTR with a Touch Screen/Interactive Whiteboard all setup. Thanks to Kinly London for allowing me to set up into their demo area this nice demo.
I have a video demo here too below on setting this up.
Any questions, drop them below or send me a tweet.
Graham