
What's in this post...
![]()
Last Updated on April 4, 2025 by Graham Walsh
Previously I had done an overview on setting up accounts, but times change, and that article is out of date now as Skype for Business isn’t used much more. And it was on Windows, let’s change it up and show a guide on MacOS.
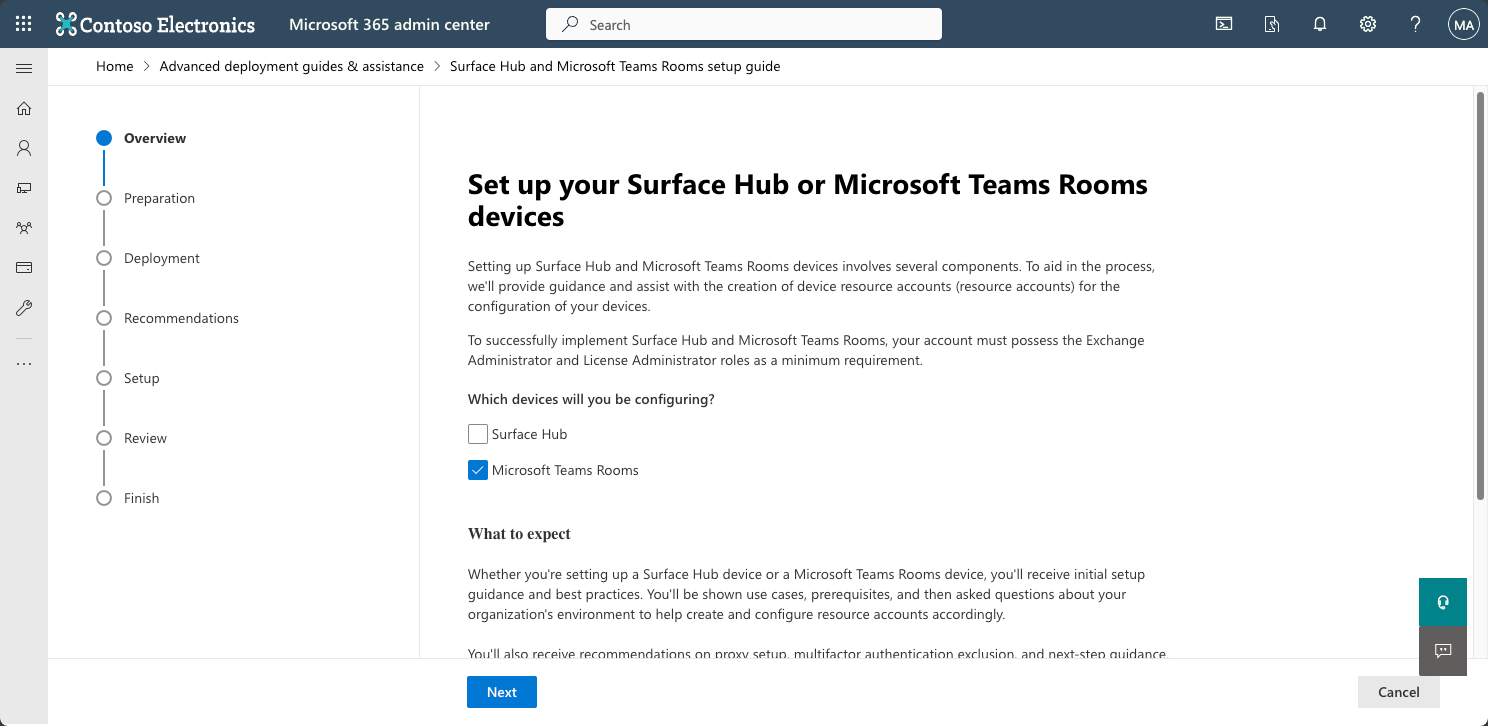
There is also a wizard that Microsoft has enabled via the Microsoft 365 Admin Center. You can use this link to take you to that if you prefer to use a GUI, however you still need PowerShell to complete the setup.
Video Overview of setting accounts up
Step One – Installing PowerShell and modules
Open Terminal and type
brew install --cask powershell
Install-Module -Name ExchangeOnlineManagement
Install-Module -Name Microsoft.Graph
Step Two – Connecting to online services
Connect-ExchangeOnline -UserPrincipalName account@yourdomain.name
Connect-Graph -Scopes User.ReadWrite.All, Organization.Read.All
Step Three – Set room account variables
$newroom = "prague@yourdomain.name"
$Display = "Prague Room"
New-Mailbox -MicrosoftOnlineServicesID $newroom -Name $Display -RoomMailboxPassword (ConvertTo-SecureString -String "YourS3curePa$$word!" -AsPlainText -Force) -EnableRoomMailboxAccount $true -RoomStep Four – Set password never expires
Update-MgUser -UserId $newroom -PasswordPolicies DisablePasswordExpiration -UsageLocation GBStep Five – Get a list of licenses
Here is a reference to the various licenses that could be available on your tenant.
Get-MgSubscribedSKU -All | Select-Object SkuPartNumber, SkuId, @{Name = "ActiveUnits"; Expression = { ($_.PrepaidUnits).Enabled } }, ConsumedUnits |
ForEach-Object {
[PSCustomObject]@{
Designation = $_.SkuPartNumber
LicenseID = $_.SkuId
NumberTotal = $_.ActiveUnits
NumberUsed = $_.ConsumedUnits
}
} | Sort-Object License | Format-Table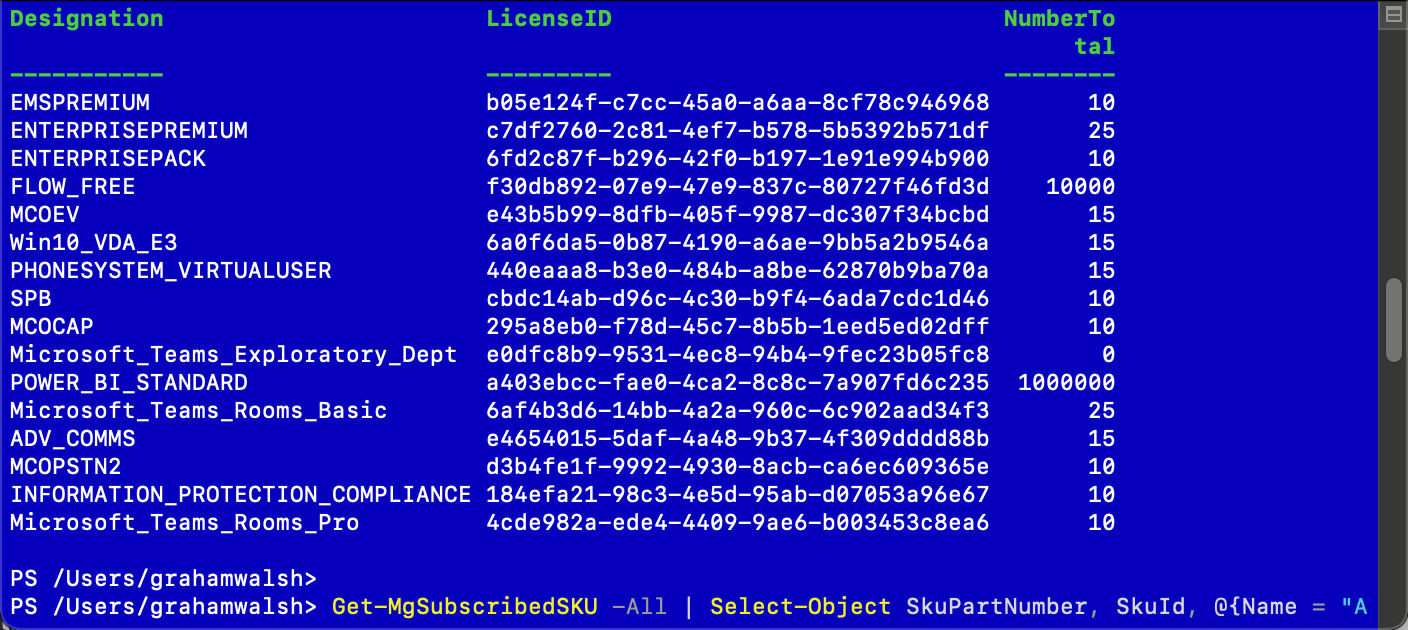
Now copy the license type such as Microsoft_Teams_Rooms_Pro
Step Six – Set the variable with the license
$EmsSku = Get-MgSubscribedSku -All | Where SkuPartNumber -eq 'Microsoft_Teams_Rooms_Basic'Step Seven – Set the license to the user
Set-MgUserLicense -UserId $newroom -AddLicenses @{SkuId = $EmsSku.SkuId} -RemoveLicenses @()Step Eight – Check the user has a license assigned now
Get-MgUserLicenseDetail -UserId $newroom | Format-ListStep Nine – Set mailbox options
First up, we can set the mail tip for the room if required.
Set-Mailbox -Identity $newroom -MailTip "This room is video enabled to support Microsoft Teams Meetings with options for Zoom and Webex Direct Guest Join or BYOD Mode"Next we set the mailbox processing rules to auto accept meeting invites, allow third party meetings etc.
Set-CalendarProcessing -Identity $newroom -AutomateProcessing AutoAccept -AddOrganizerToSubject $false -RemovePrivateProperty $false -DeleteComments $false -DeleteSubject $false -ProcessExternalMeetingMessages $true -AddAdditionalResponse $true -AdditionalResponse "Your meeting is now scheduled and if it is a Microsoft Teams, Zoom or Webex meeting, just press the Join icon on the controller."This next option is if you want to set options when searching in Room Lists in Microsoft Teams and when using Outlook in addition to Teams Panels outside the rooms.
Set-Place -Identity $newroom -AudioDeviceName Neat -VideoDeviceName "Neat Microsoft Teams Room" -Capacity 6 -DisplayDeviceName "75inch LCD" -Floor 1 -FloorLabel "Pavilion Club" -Tags "Microsoft Teams Enabled","Zoom & Webex Interop Enabled","BYOD Enabled" -PostalCode "EC4R 0AA" -Street "27 Bush Lane" -Phone 01234567890 -CountryOrRegion GB -City London -Building "Cannon Green" -IsWheelChairAccessible $true -GeoCoordinates "51.51074;-0.089614" -MTREnabled $trueIf you want to set the time zone for the room, you can do this via PowerShell here too, otherwise you’ll have to log into OWA and set it there. To find a list of time zones, run this command and it will show you time zones in Europe for example.
Get-TimeZone -Name "*europe*"
Once you have found the time zone you want, just run this command now to set it say for Oslo.
Set-MailboxRegionalConfiguration -Identity $newroom -TimeZone "Central Europe Standard Time"Step Ten – Adding Microsoft Teams Phone and a Calling Plan to the Acccount
$EmsSku = Get-MgSubscribedSku -All | Where SkuPartNumber -eq 'MCOEV'
Set-MgUserLicense -UserId $newroom -AddLicenses @{SkuId = $EmsSku.SkuId} -RemoveLicenses @()
$EmsSku = Get-MgSubscribedSku -All | Where SkuPartNumber -eq 'MCOPSTN2'
Set-MgUserLicense -UserId $newroom -AddLicenses @{SkuId = $EmsSku.SkuId} -RemoveLicenses @()Step Eleven – Create a Room List
New-DistributionGroup -Name "Neat Demo Rooms" -RoomList
Add-DistributionGroupMember -Identity "Neat Demo Rooms" -Member $newroom
Step Twelve – Allow Conflicts – useful for trade shows/labs
Set-CalendarProcessing -Identity $newroom -AllowConflicts $trueAnd that is it, you now have a resource account setup to be used with Microsoft Teams Panels, Microosft Teams Rooms, Zoom Rooms and any scheduling use.