
What's in this post...
![]()
Last Updated on December 19, 2019 by Graham Walsh
Many organisations rolling out Microsoft Teams Room may want to create user guides to ease with adoption. To do this, the best way is to use screenshots. Taking a photo on your phone and using that is not the best experience. A nicer way is to remote into the device and take screenshots with your favourite tool to take it.
However, on the Microsoft Teams Room system, Remote Desktop Protocol (RDP) is disabled by default (for security). Below I will document how you can enable it, take your screenshots and then disable it again. This assumes you are on the same network.
One thing to note with RDP is that it logs out the MTR when doing so. This is fine for screenshots as you are probably using a demo system.
In the real world, you may want to use a third-party tool such as Team Viewer in unattended mode. This means it doesn’t log the user out of the MTR or use SCCM Remote Control.
Crestron also have their XIO Cloud Service that is available for Crestron Flex MTR systems. It’s hosted in the Azure IoT Hub and you get a one year subscription to it included with any Flex MTR system.

Enabling RDP
Step One – Log into Admin side
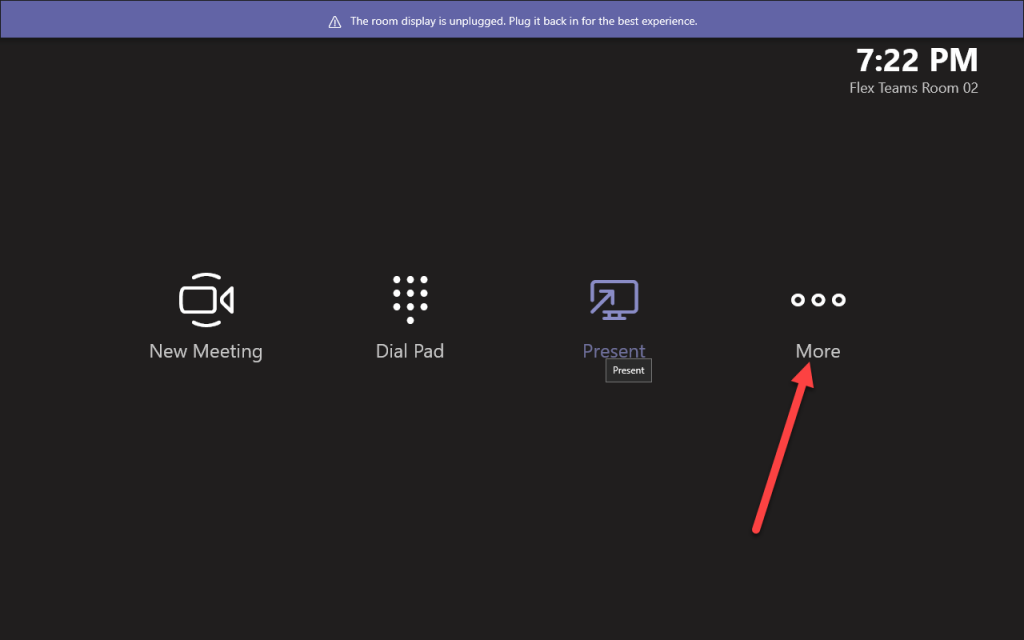
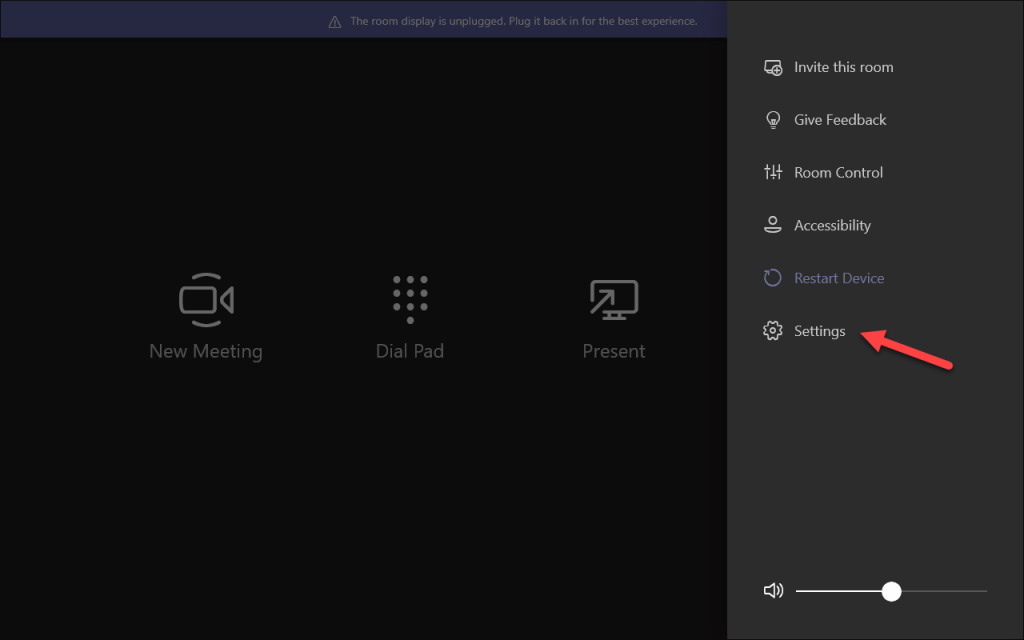
First of all, we need to go to the Admin side of the MTR and logging in as Admin to get to the Windows desktop.
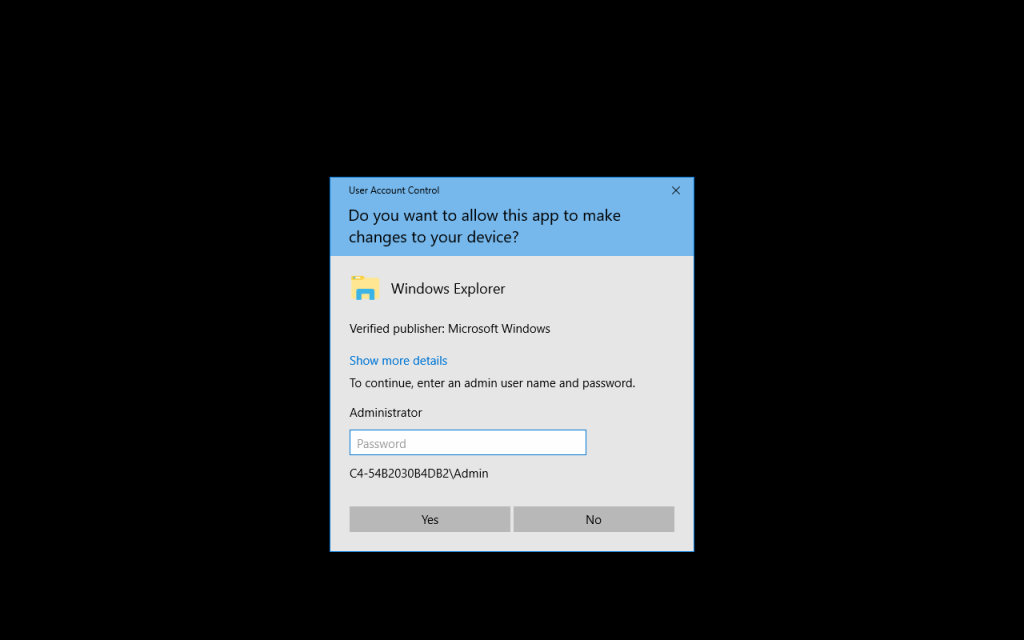
Log in with your password. The default is sfb


Step Two – Edit the local policies
Once logged in, we need to click on the Windows icon and select Run. Then enter gpedit.msc and hit OK.

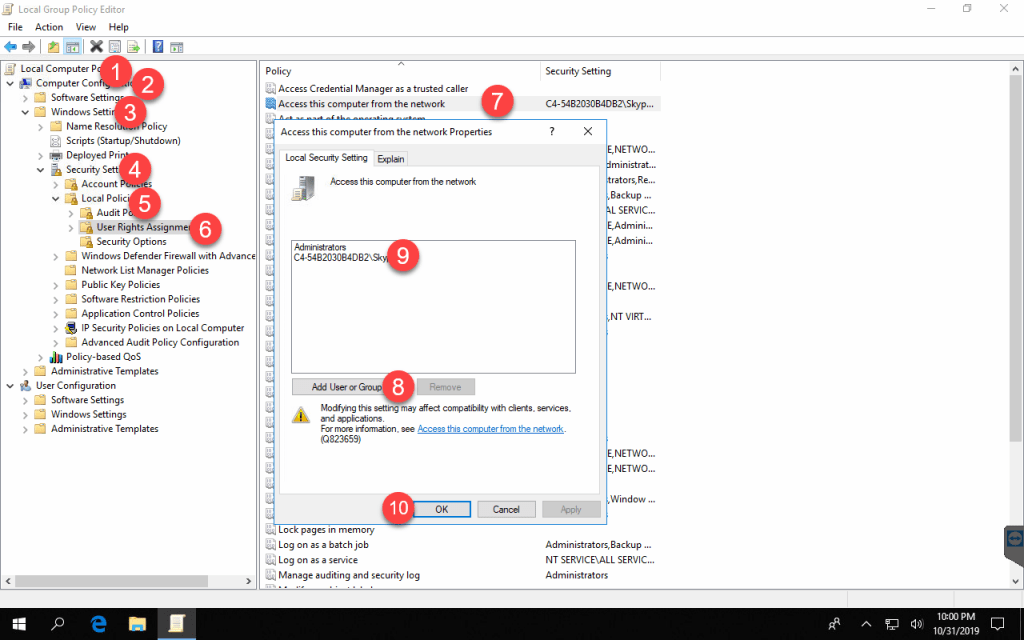
In the left pane, go to Local Computer Policy > Computer Configuration > Windows Settings > Security Settings > Local Policies > Security Options
Then select “Accounts: Limit local account use of blank passwords to console logon only” and double click on it. By default, it is Enabled, meaning an account with no password is unable to login with Remote Desktop

Now navigate to Security Settings > Local Policies > User Rights Assignments > Allow log on through Remote Desktop Service. Then Click on Add User or Group and then type in Skype and click on Check Names. The username should then be filled out and underlined to show it has been resolved. Click on OK, Apply and OK.

The final config is to allow the Skype user to access the PC from the network. Navigate to Local Computer Policy > Computer Configuration > Windows Settings > Security Settings > Local Policies > User Right Assignments and select Access this computer from the network. Now add the Skype user and click OK to save.
Step Three – Enable RDP
Now open up Explorer and click on This PC. You can then right-click on a blank space and then select Properties.

Now once the System dialog box opens up, select Remote settings and then select the radio button of Allow remote connections to this computer.

Also, we need to allow the Skype user to use RDP, so click on Select Users and add in the Skype user. Click OK so close the dialog box.
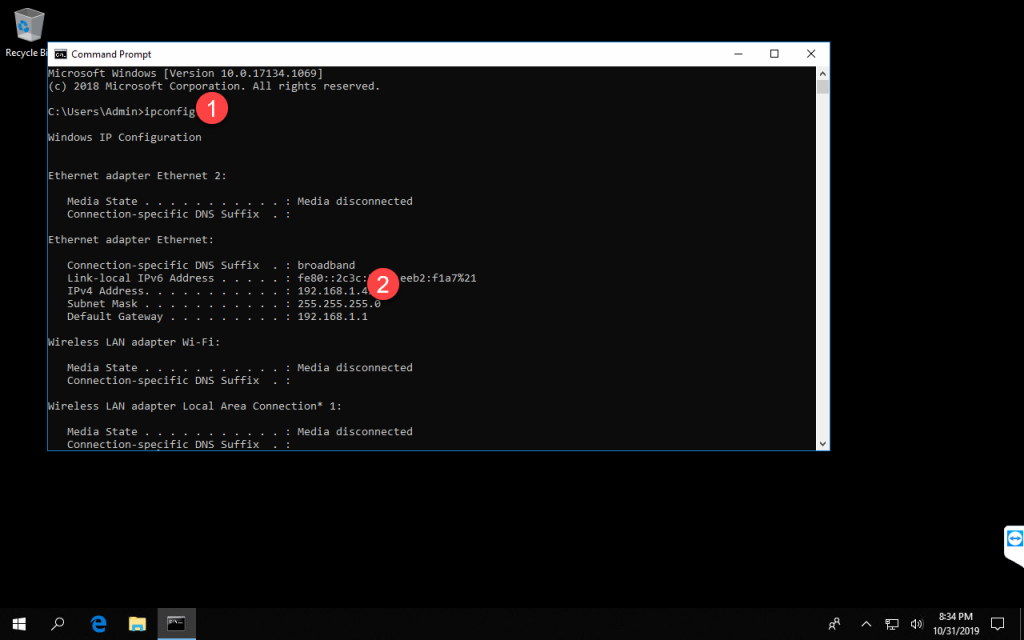
Finally, we need to know the DNS Hostname or the IP address of the MTR. Simply run a Command Prompt and get the IP address for example
Now we can log out of the Admin side and return to the Microsoft Teams Room app.


Step Four – Connecting via RDP
Once you have the IP Address, head to another machine and you can then select the Start button and type Remote and select Remote Desktop Connection.

Now enter the IP or Hostname and select Connect

Now we are going to enter the username of Skype into the Username box. Remember there is no password for this Skype user.

And that is it, you now have remote access to the system to do your user guides and screen shots

Step Five – Reset it back
I would highly recommend reversing the config changes to make the system secure again.
Other options for Remote Access
On the Microsoft Tech Community, gerry862 provided a nice example of how to do it in a proper environment. If the device is domain joined, then you can use SCCM Remote Control and you get to see both screens, the Front of Room (FoR) screen output and a touch panel (CoR) screen. This is the same for Team Viewer.
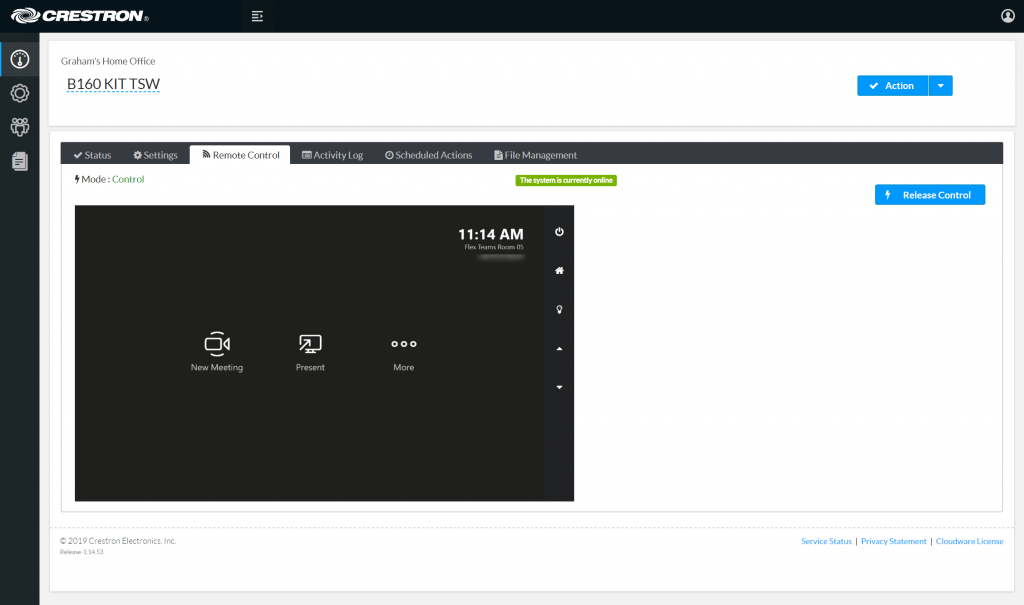
One MTR vendor that has a nice solution for remote access is Crestron XiO Cloud. This platform is hosted in Microsoft Azure in the IoT Hub and you can remotely control the touch panel via a browser. Crestron also have a similar application to RDP, it is called Crestron Remote Connection and it is for local remote control without the need to make all the changes. I am aware Logitech is working on its management platform, but not sure about remote capabilities. Maybe more information will be announced at Microsoft Ignite.

Any questions, let me know.