
What's in this post...
![]()
Last Updated on December 12, 2018 by Graham Walsh
Preparing Azure for Pexip Infinity
This is part one of an eight part series for deploying Pexip in Azure. Part two is here, part three is here, part four is here, part five is here, part six is here and part seven is here.
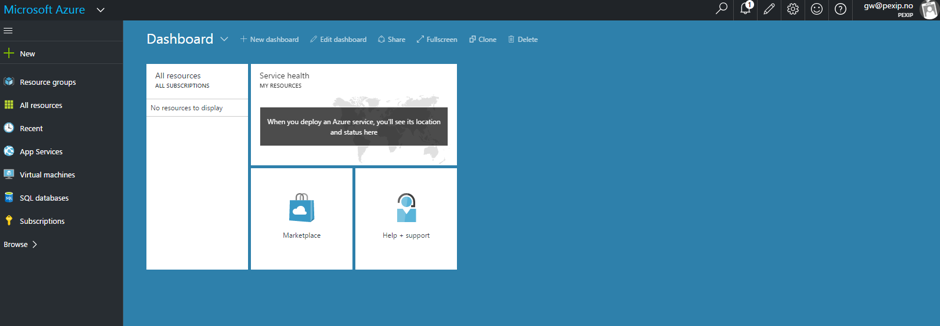
First of all we are starting with a clean fresh Azure portal.
Step One – Create a Resource Group
First of all we need to create a new Resource Group and we do this by clicking on Resource Groups and click + Add

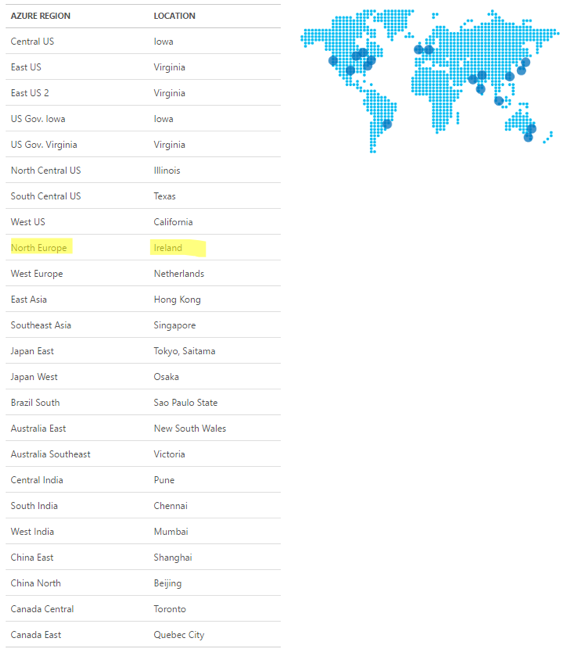
We need to decide which region you are going to deploy Pexip in, so you can see the regions and the locations here.
One you have decided on your region, you can then populate the fields of the Resource Group Name, your subscription and finally which region you would like. Then click create.

If you had selected Pin to Dashboard, you will then see the Resource Group on the Dashboard as per below.

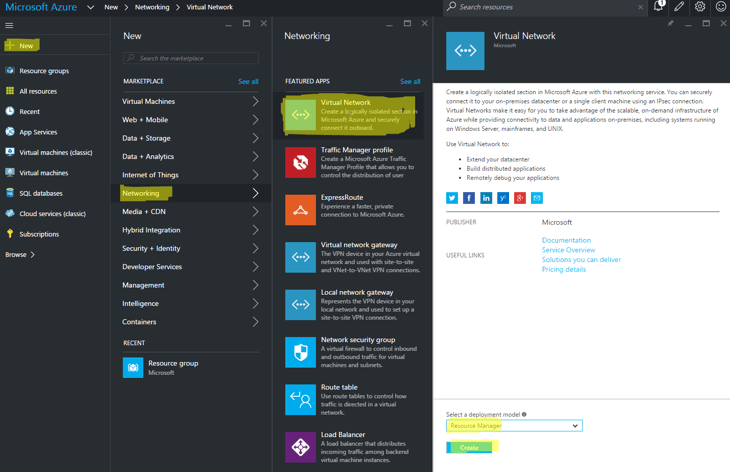
Step Two – Create a Virtual Network
Select New from the top left and then Networking > Virtual Network. Then ensure you have Resource Manager selected and click Create.
Now we can give our network a name, choose the IP range and then ensure you select your subscription, Resource Group and your location. I’ve chosen to pin mine to the dashboard, so you can now click on Create.

Step Three – Create a Storage Account
Select New > Data + Storage > Storage Account. Enter a unique name and Select Resource Manager as the Deployment Model. Then account kind of General Purpose and Replication set to LRS. Then select your Subscription and your Resource Group (created above) and finally your location. Always ensure you are deploying in the same region to start with.

Click on Pin to Dashboard and then Create. Now we have our pre initial setup elements.
Resource Group, Storage Account and Virtual Network.

Step Four – Create a Network Security Group
Pexip has created a simple template to create all the ports required to allow Pexip inbound and outbound access. Full details here.
Simply run this template URL and select your subscription, select your Resource Group and then provide the Management Network where you want to allow it from (depending on your deployment and IP Address and VPN to Azure etc, you could enter your own Public IP address such as 198.51.100.1/32, if you want to only you can access it). Then enter a name for the Security Group. Click OK and then click on the Review Legal Terms, select “Purchase” and then click on Create.

As of 22nd October, there is a new look to the Security Group creation page, see below.

In summary we are now ready to start deploying Pexip within Azure. We have our Security Group, Network and Storage Account all within our same location of North Europe.

So this concludes part one of deploying Pexip in Azure. Part two will focus on preparing the virtual servers in Azure. Click here for part two.
Blog Series Links
Part One | Part Two | Part Three | Part Four | Part Five | Part Six | Part Seven