What's in this post...
![]()
Last Updated on April 12, 2016 by Graham Walsh
Pexip have an excellent guide on deploying the management node here but I thought I would add in some images to assist with the deployment for the purposes of a lab setup. This is obviously subject to change in case Amazon change the layout of their site.
Step One – Sign into AWS
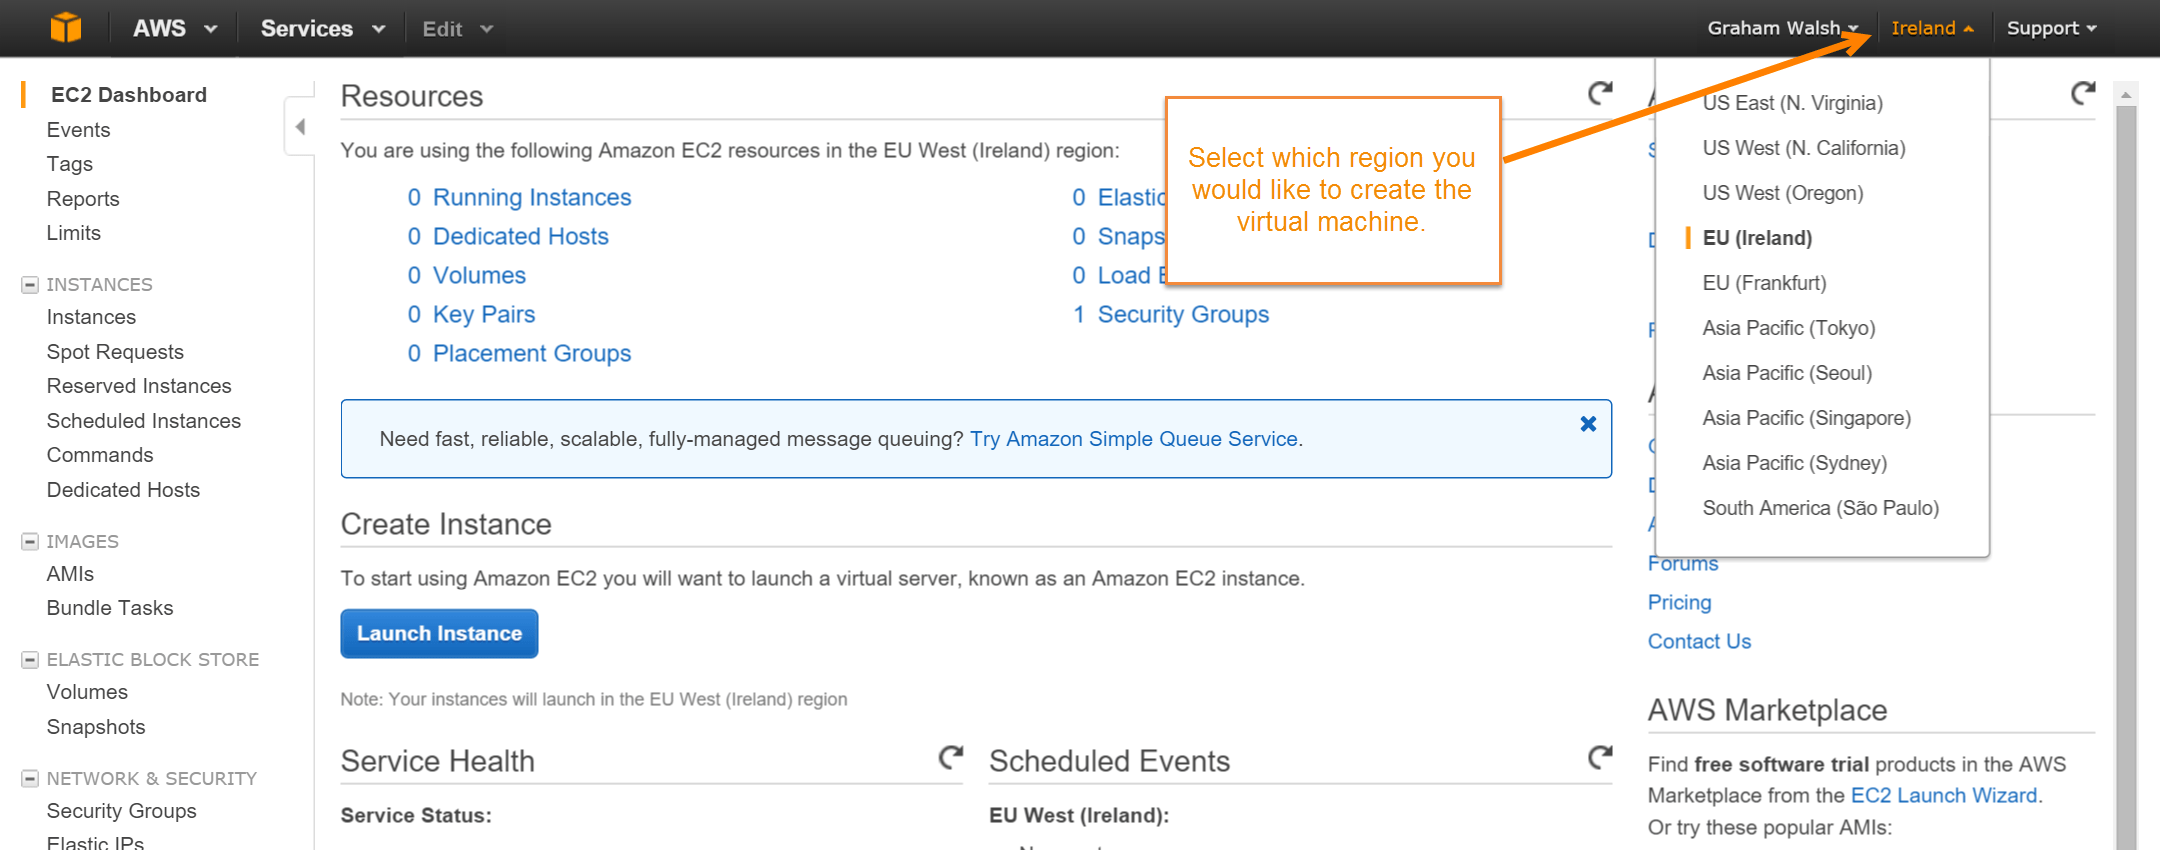
Log into your Amazon account and select the region where you want to deploy the server
Step Two – Launch Instance
Now select Launch Instance to start creating the virtual machine.

Step Three – Choose Amazon Machine Image
Now select Community AMIs and then in the search box type Pexip and then select the Management Node.
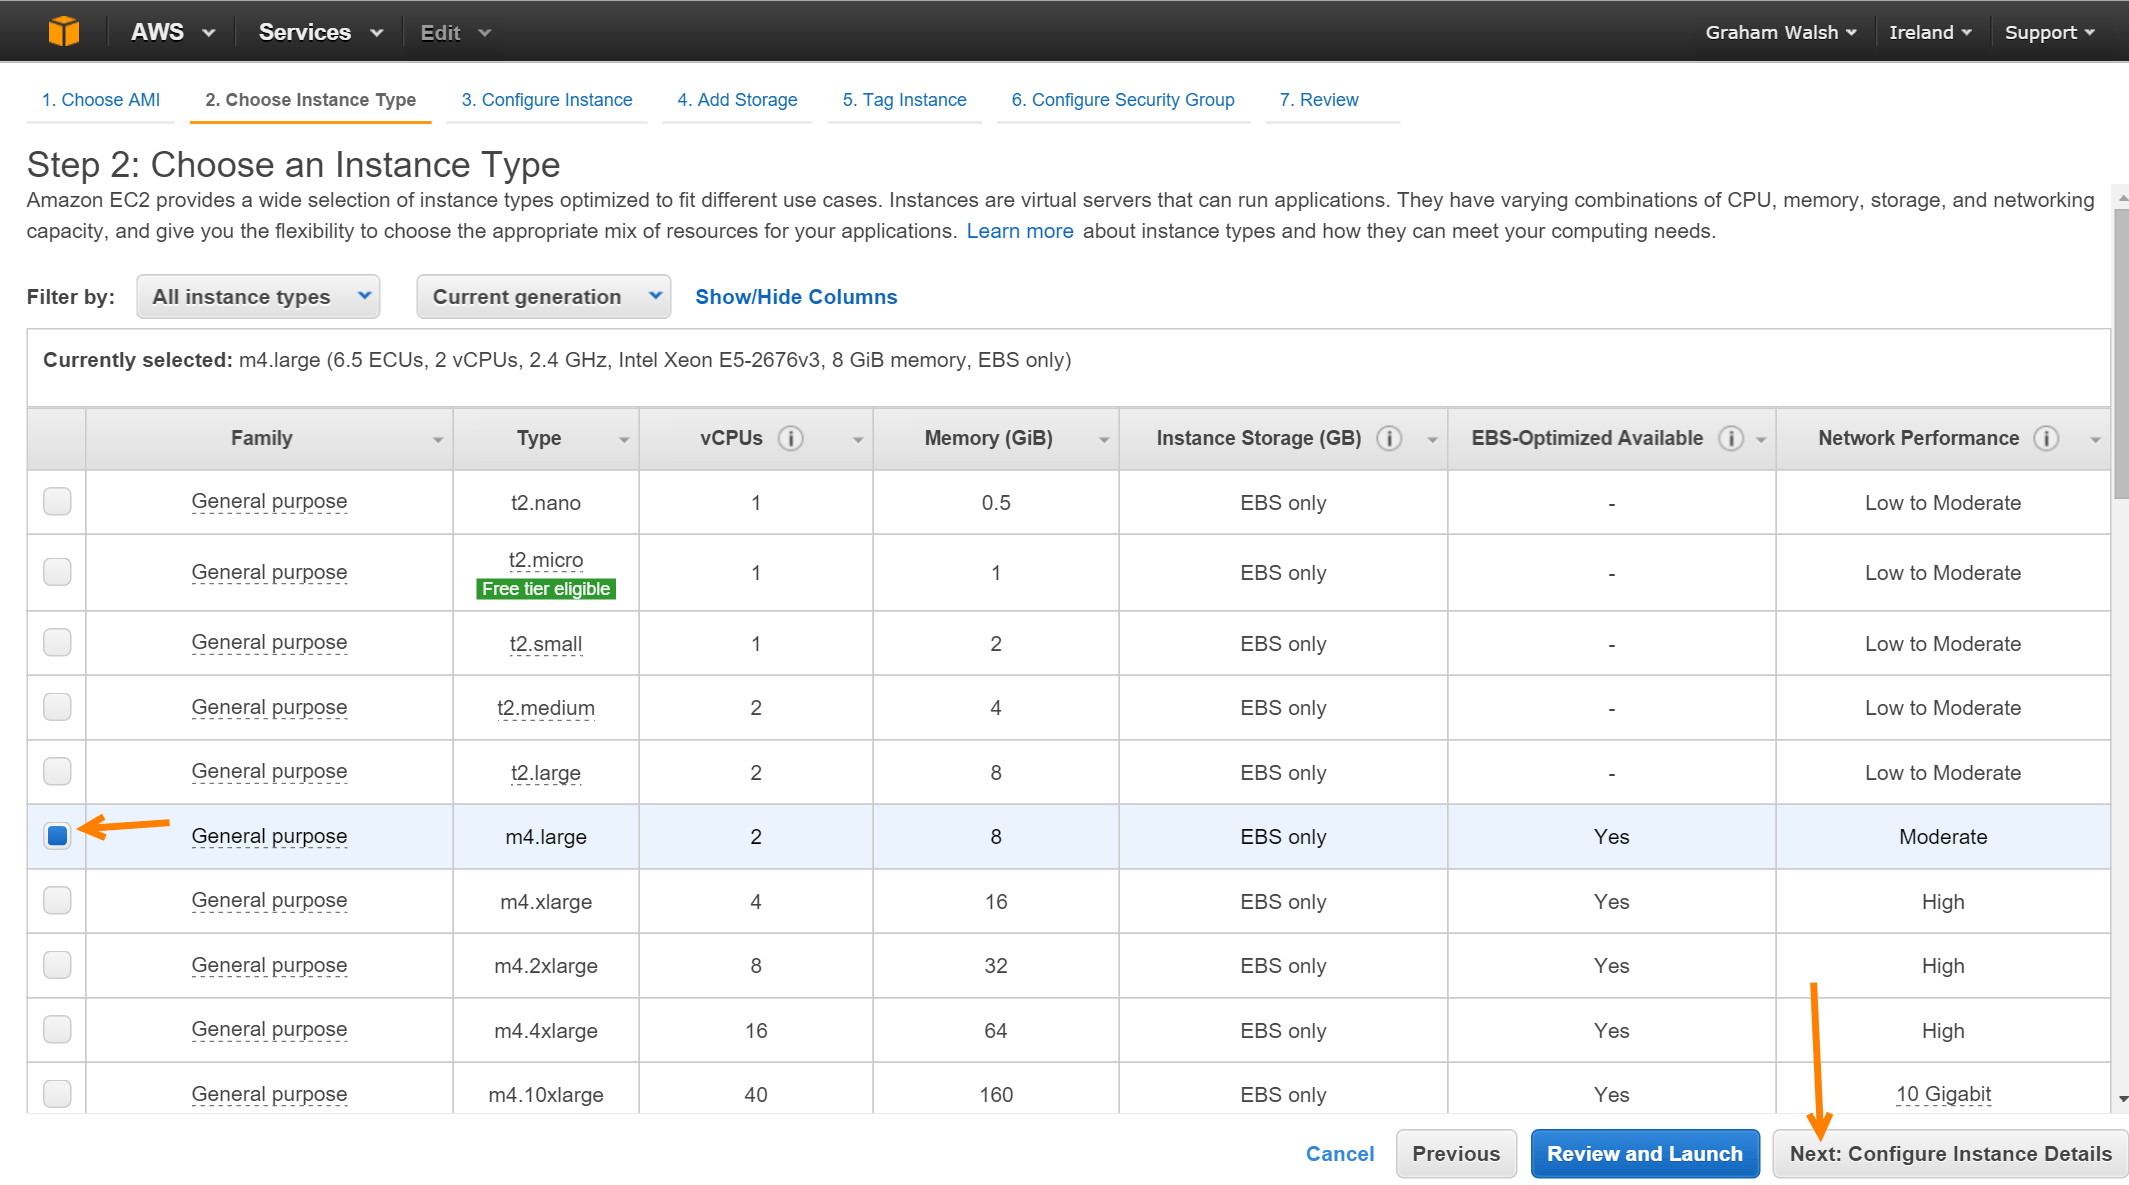
Step Four – Select Machine Size
Next up is to select the machine size for the deployment. For a trial, a t2.medium is fine but for a production deployment, a m4.large is recommended. Select Next: Configure Instance Details once you’ve selected the machine type.
Step Five – Configuring Instance Detail
In this page, we configure the networking of the management node. It is a good idea to define the subnet and also check the box for termination protection. Then select Next: Add Storage.

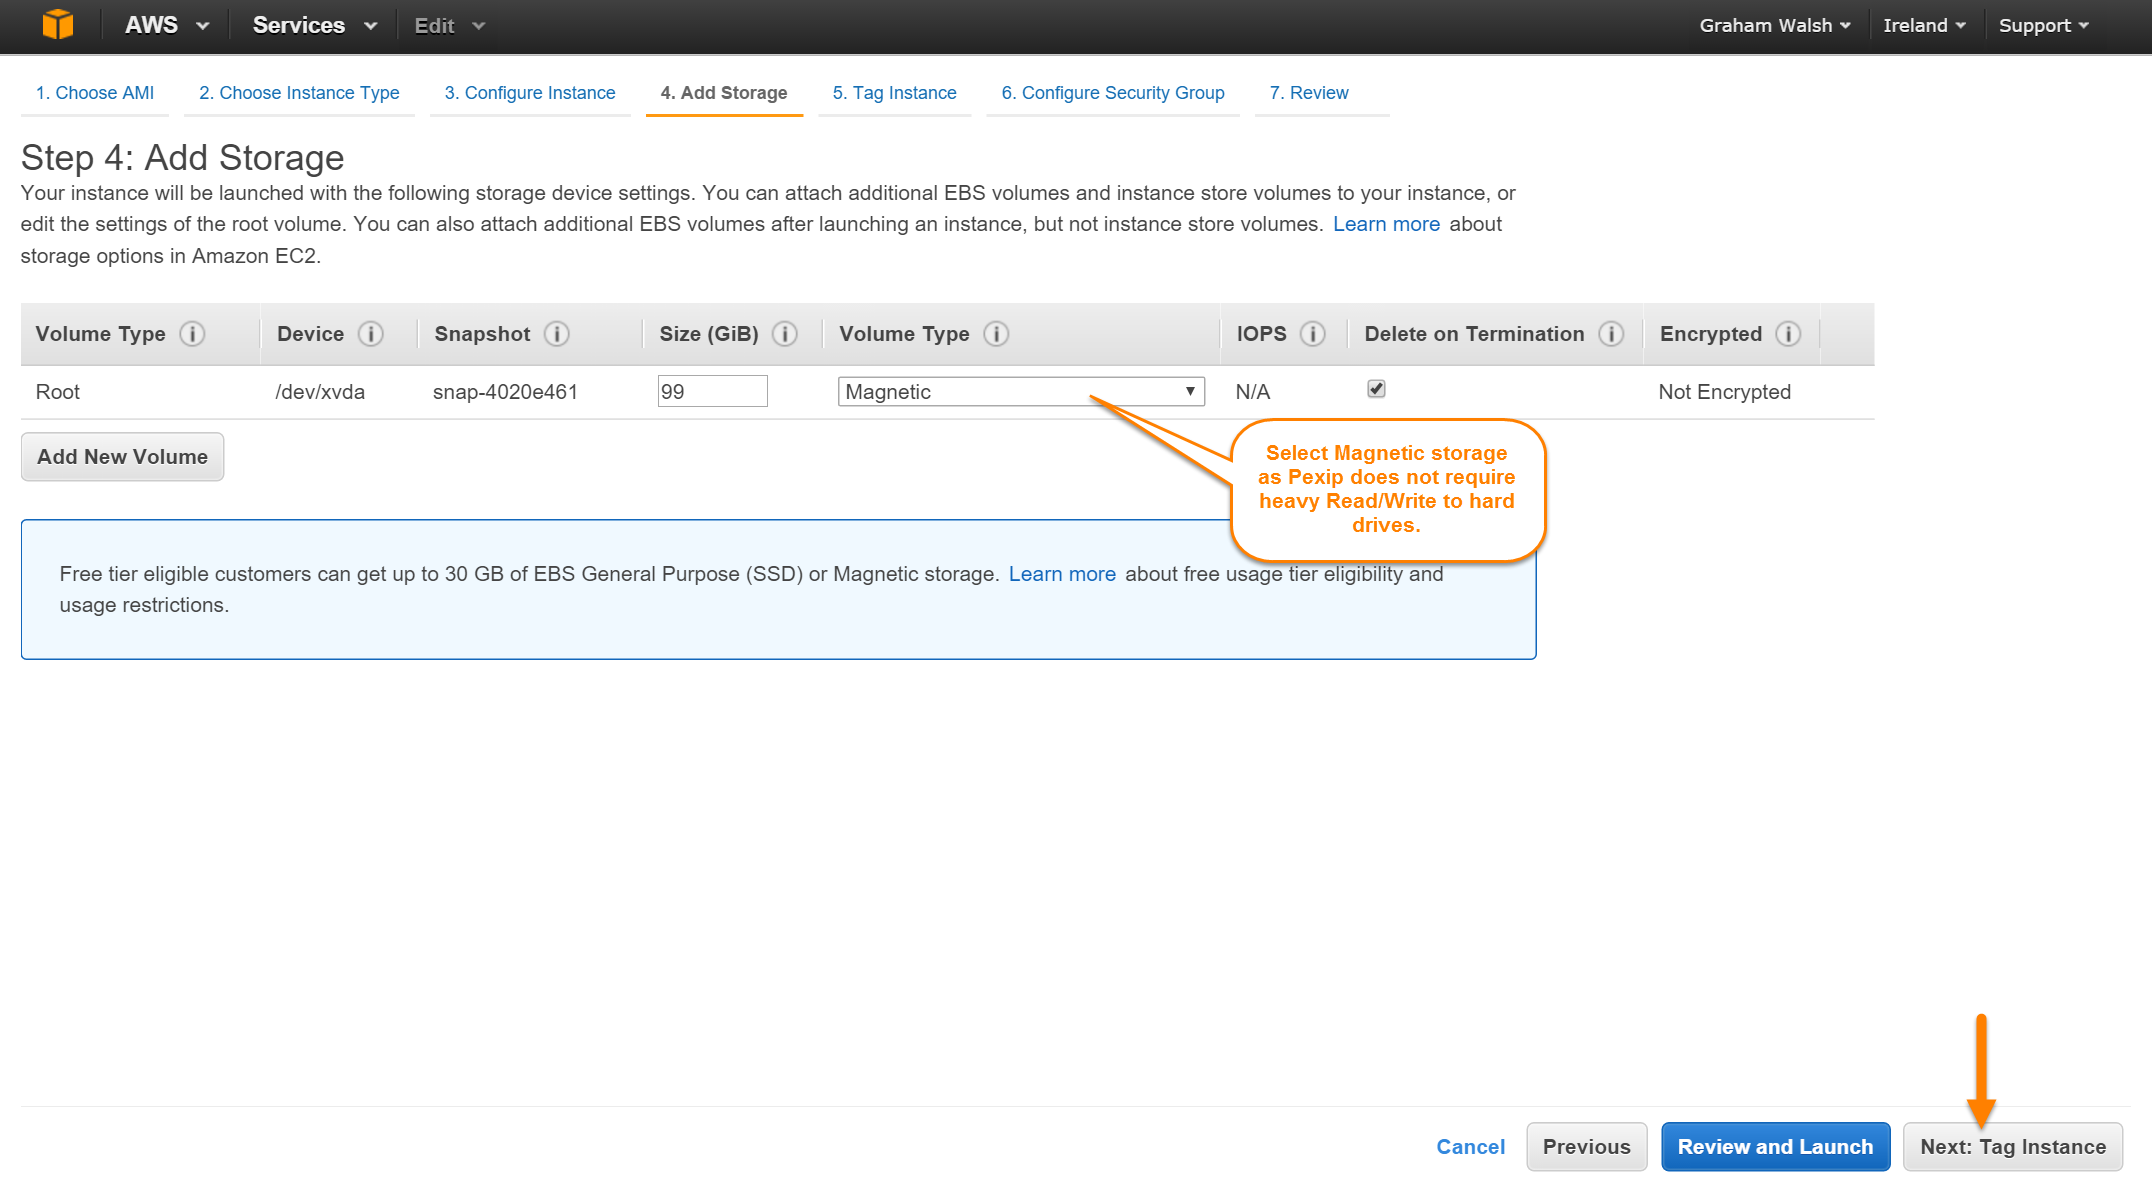
Step Six – Storage Type
Now you can select what type of storage is required. Because Pexip is not hard drive intensive, you can select Magnetic storage.
Step Seven – Tag Instance
Here we just provide a description and add tags if required.

Step Eight – Security Groups
This is where you now need to allow certain protocols to the management and conference nodes. The full details of what ports that need to be open are listed here on the Pexip site. When you need to add the Security Group ID, you can just start typing sg and it will populate with your security group.

For my deployment, I had to add All Traffic between the subnet, so adding in 172.31.0.0/20 to enable communications between the conference node and management node. This may differ depending on your setup of AWS.
Step Nine – Confirm Storage Type
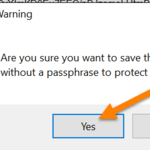
Because we selected magnetic storage, AWS will prompt you asking are you sure, probably another way to get you to spend more money. Keep the drive as Magnetic.

Step Ten – Review Details and Launch
You can see all the details of the server you have created and now launch the virtual machine.

Step Eleven – Create Key Pair
Depending on your AWS usage, you may have to create a new key pair. It is very important that you do not delete this, so store in a safe place.

Step Twelve – View Instance
The virtual machine will now start and you can head to the dashboard and see it initializing.


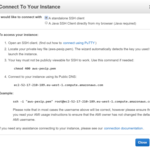
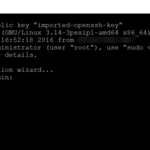
Step Thirteen – Connect to Server
Depending on what operating system you are using, this can be done in two ways. If you are on a Mac OSX, you can just use the Terminal to follow the steps in changing the permissions for the .pem file as per screen or if you are Windows you will need to download putty and puttygen from here. You could also use Firefox with Java to connect to the remote machines.

Converting the .pem to .ppk
Open puttygen and select Load existing pem and then select save private key. It’s that simple to convert.


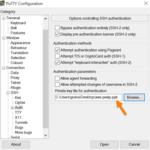
Connecting with putty
Once the file is imported, open up putty and input the public IP address. Then navigate to Connections > SSH > Auth and browse for the newly converted file.

Step Fourteen – Configure Management Node
Now we just need to configure the basic settings for the management node which is well documented on the Pexip site here. I have also covered this off on a blog post here.

Step Fifteen – Launch Web Management Interface
Once the server reboots, just browse to the DNS or public IP of the management node and log in with the credentials you specified in step fourteen.

That’s it, you have a fully functional Pexip Management Node in AWS. Next up I will post about configuring a conferencing node in AWS as this is slightly different to normal on-premise deployments. For part 2, see here for deploying a conference node http://www.graham-walsh.com/2016/01/deploying-pexip-in-amazon-web-services-part-2/